How to Wrap a Gift with Ribbon: Step-by-Step for Beautiful Bows
Learn simple techniques to add ribbon that makes any package look polished and thoughtful. From basic bows to curly tails and layered looks, we cover the exact moves that turn ordinary wrapping into something people notice.
As an Amazon Associate, My Gifts Inventory earns from qualifying purchases. We only recommend products we'd genuinely consider buying ourselves.
We have all been there: the gift is perfect, the paper looks fine, and then the ribbon turns into a lopsided mess that undoes the whole effect. You want the finished package to feel considered, not rushed, and a good ribbon job does exactly that. It signals care before the recipient even opens anything.
The good news is that polished ribbon work is mostly a handful of repeatable moves rather than natural talent. Once you know how much length to cut, where to cross the ends, and how to shape the loops, you can finish almost any box in a couple of minutes. We will walk through the basics, a few upgrades, and the small details that separate “nice try” from “how did you do that?”
Gather the Right Supplies Before You Start
Ribbon quality matters more than most people expect. Cheap plastic ribbon can look shiny in a harsh way and refuses to hold a shape. A medium-width satin, grosgrain, or wired ribbon in ⅝ inch to 1½ inches usually gives the best balance of presence and control. Wired edges let you bend loops and keep them open; unwired satin drapes softly and works well for classic looks.
You will also want sharp scissors (fabric scissors stay cleaner longer), a ruler or just a good eye for length, and optional double-sided tape or a glue dot for locking the center knot. If you plan to curl tails, a pair of scissors with a smooth blade edge is enough. Keep a few leftover scraps nearby for practice bows so you do not waste the good stuff on the first attempt.
Color choice is personal. Matching the paper creates a quiet, elegant package. Contrasting ribbon (deep green on cream, navy on kraft, metallic on solid) makes the bow the star. For gifts that already feel special, such as the sentimental pieces in our roundup of keepsake gifts for loved ones, a simple coordinated ribbon often feels more respectful than something overly busy.
Wrap the Box Cleanly First
Ribbon cannot fix wrinkled paper or uneven folds. Take an extra thirty seconds to get the base right. Center the box on the paper, bring the long sides up so they meet neatly on top or bottom, and tape the seam. Fold the ends like a hospital corner or a clean envelope flap, crease firmly, and tape. The flatter and tighter the paper sits, the better the ribbon will lie.
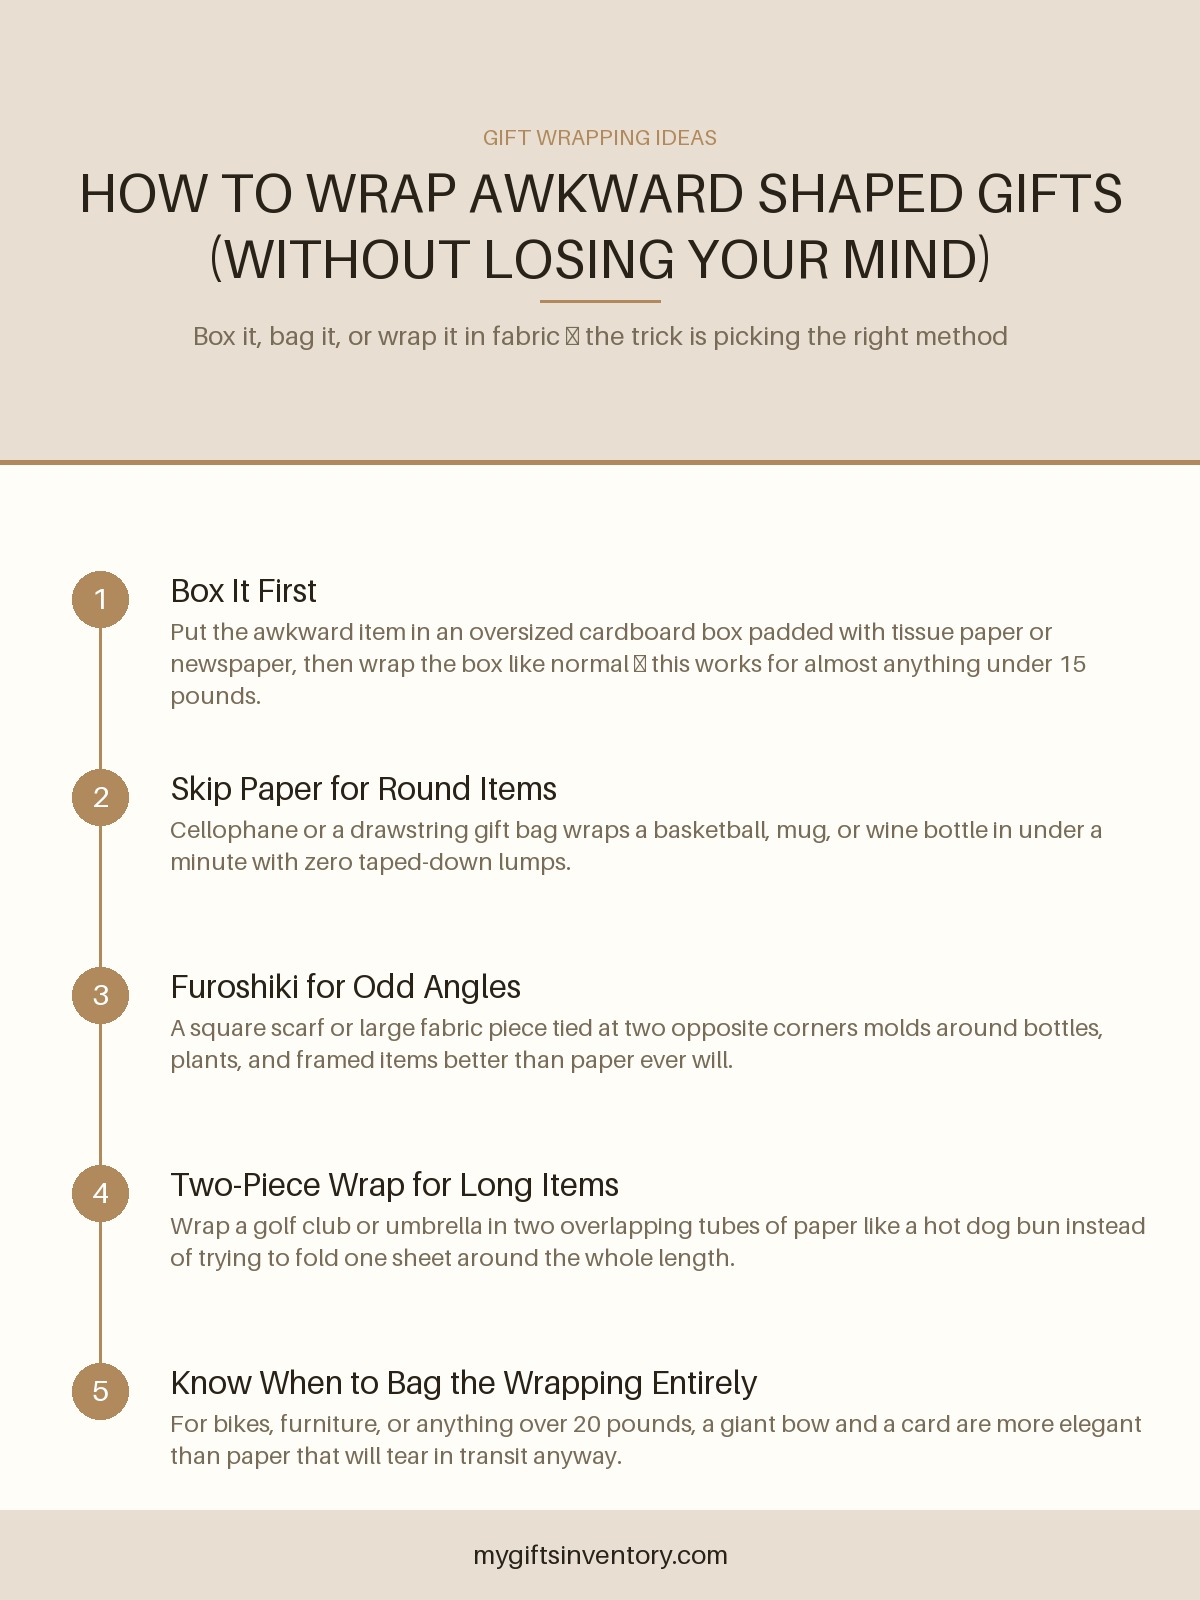
If the gift is an odd shape, consider a box or a simple gift bag as the base and treat the ribbon as the decorative layer. Soft items can be wrapped in tissue first, then paper, so the ribbon has a firm surface to grip.
How to Tie a Classic Single Bow
This is the workhorse bow most people want. It looks intentional without requiring advanced skills.
Step 1: Cut the right length
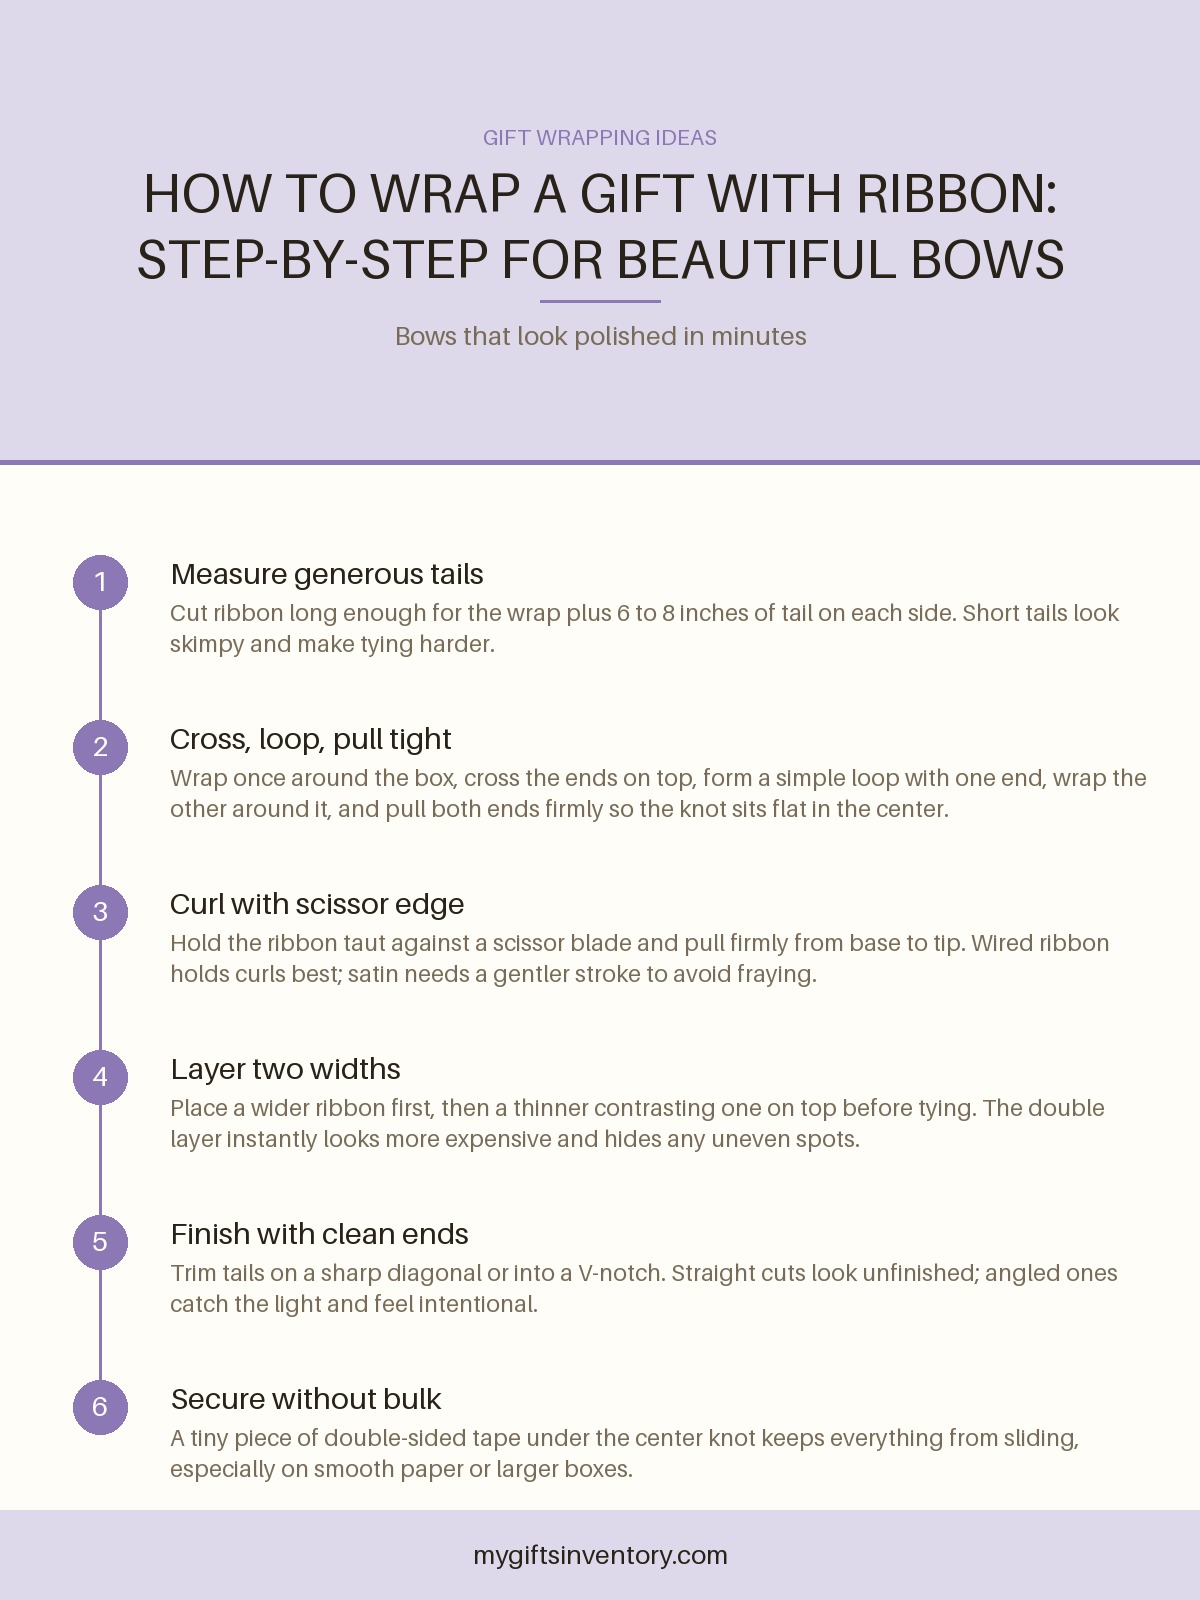
Wrap the ribbon once around the box the way you plan to place it (usually the short way for a standard rectangular gift, or both directions for a cross). Add enough extra for the knot plus 6 to 8 inches of tail on each side. For a medium box that means roughly 3 to 4 feet total depending on size. It is always easier to trim later than to start over with a piece that is too short.
Step 2: Position and cross
Place the midpoint of the ribbon on the bottom or back of the box so the seam stays hidden. Bring both ends up to the top center. Cross one end over the other, then tuck it under and pull snug. You now have a simple half-knot sitting flat on top of the package. Adjust so the knot is centered.
Step 3: Form the loops
Take one end and create a loop (this becomes one side of the bow). Hold it in place with your thumb. Wrap the other end around the base of that loop, then push a second loop through the opening you just created. Pull both loops and both tails gently but firmly until the knot tightens and sits neatly in the middle. The loops should be roughly the same size; the tails can be equal or one slightly longer for a casual look.
Step 4: Shape and secure
Fluff the loops by pulling them outward and upward. If the ribbon is wired, bend the edges slightly so the loops stay open and rounded. Press a small piece of double-sided tape under the center knot if the ribbon wants to slide on glossy paper. Trim the tails on a sharp diagonal or cut a small V-notch into each end for a finished look.
Practice this sequence two or three times on a scrap box. Muscle memory builds fast, and soon you will do it without thinking.
Easy Upgrades That Look Expensive
Once the basic bow feels comfortable, a few small changes create more presence.
Layered ribbons
Use two ribbons of different widths or textures. Lay the wider one down first, then center the narrower one on top of it before you begin wrapping. Tie them together as a single unit. The contrast (matte with shiny, solid with subtle pattern, wide with skinny) instantly elevates the package. This works especially well on anniversary or romantic gifts where you want a richer presentation, the kind of attention that pairs nicely with ideas from our anniversary gift hampers and baskets under $75.
Double bow or stacked bows
Tie a full bow as usual, then tie a second smaller bow right on top of the first using a shorter piece of the same or contrasting ribbon. Or make two complete bows and stack them, securing the centers together with a twist of thin wire or a dab of glue. The extra volume reads as generous.
The cross wrap
Instead of a single band, wrap the ribbon in both directions so it forms a plus sign or full cross on top of the box. Tie the bow where the ribbons meet in the center. This gives more structure and looks polished on larger or square packages.
Curly tails and multiple streamers
After the bow is tied, take each tail and run it firmly along the blade of your scissors while holding the ribbon taut. The friction creates curls. Wired ribbon holds the curl longest. For extra drama, cut several thinner ribbons and curl them all so a cascade of streamers falls from the knot. Keep the curls loose enough that they still move.
Working with Different Ribbon Types
Not every ribbon behaves the same way.
- Satin: Smooth and classic. It can slip, so the center tape trick helps. Curls nicely but frays if you are rough with the scissors.
- Grosgrain: Ribbed texture grips better and feels sturdy. Excellent for everyday gifts and kids’ presents because it holds up to handling.
- Wired ribbon: The wire lets you sculpt perfect loops and keep tails exactly where you want them. Ideal when you need the bow to stay put through transport.
- Sheer or organza: Soft and romantic. Often looks best layered over a solid ribbon so it has something to rest against.
- Burlap or rustic textures: Great with kraft paper or natural themes. Keep bows simple; too many loops can look messy.
- Velvet: Luxurious but thicker. Use slightly longer lengths and pull gently so you do not crush the pile.
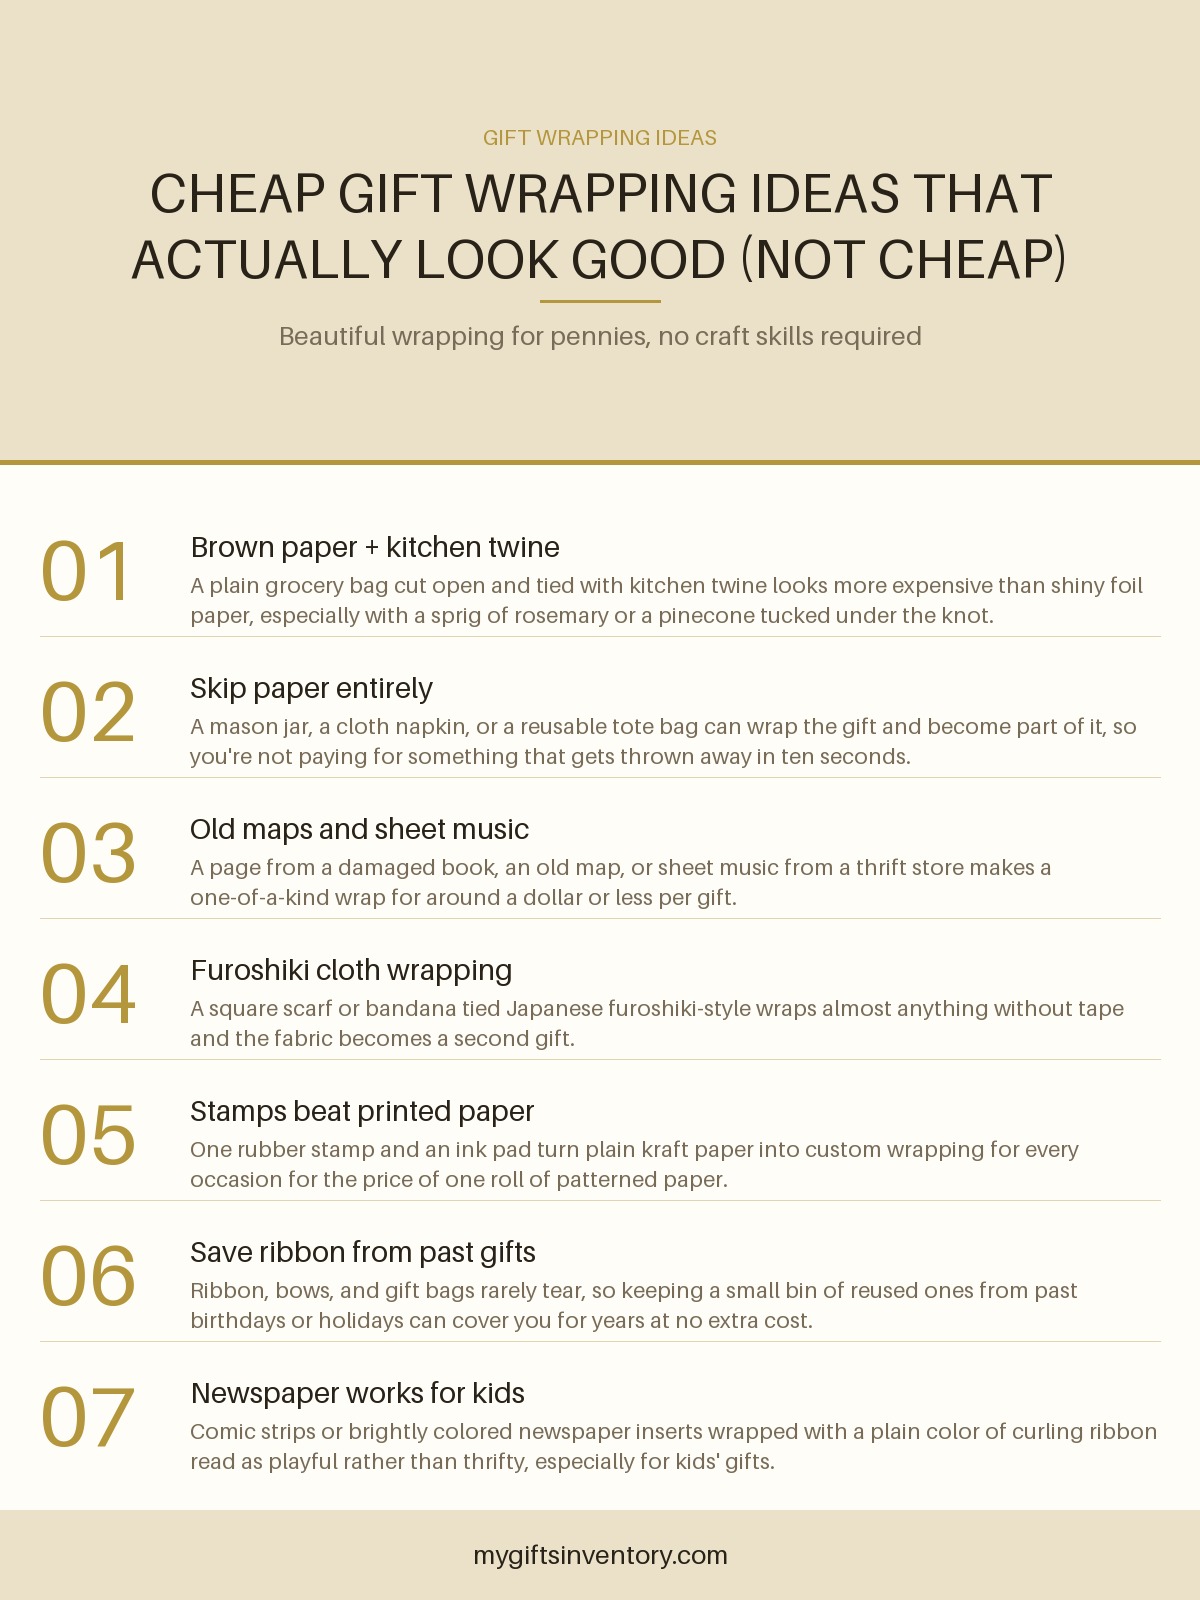
If you are wrapping something small and inexpensive, the ribbon can do a lot of the heavy lifting. A carefully tied bow on a modest present often makes it feel more thoughtful than the price tag suggests. That is useful when you are working through a longer list and reaching for options like the ones in our guide to thoughtful gifts under $20.
Special Situations and Quick Fixes
Odd-shaped gifts (bottles, soft toys, clothing) sometimes fight a traditional wrap. For bottles, wrap the ribbon around the neck a few times and finish with a bow at the side or front. For plush toys or clothes, place them in a simple box or bag first. A wide ribbon around a gift bag with a big bow on the handle looks intentional and takes almost no time.
If the bow comes out lopsided, do not start over immediately. Loosen the knot slightly, even out the loops by pulling the shorter one, then retighten. Most asymmetry can be fixed in place.
Running short on ribbon? A single elegant band with long tails and no bow still looks clean, especially if you add a small gift tag or sprig of greenery at the knot. Or switch to a narrower ribbon and make a daintier bow.
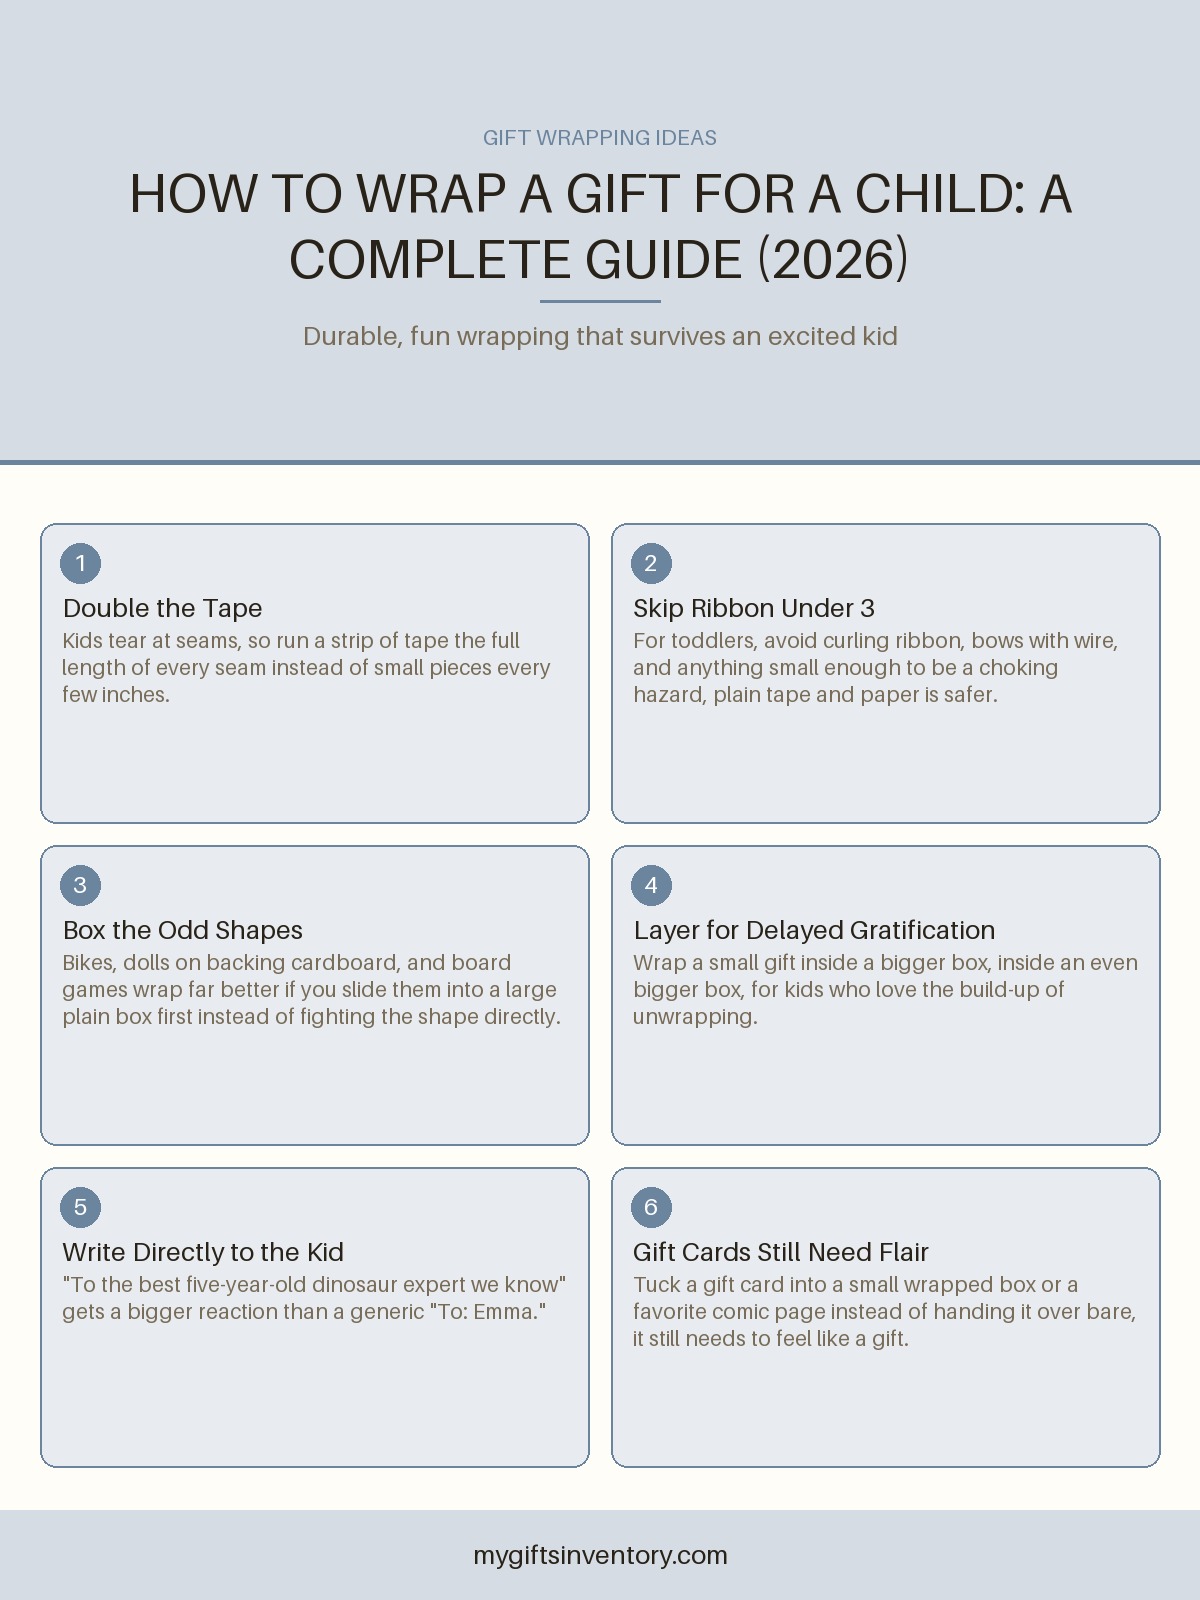
For young children, durable grosgrain in bright colors or patterns holds up better than delicate satin. Fun, sturdy presentation matches the energy of presents like those in our list of best gifts for 2 year olds, where the wrapping itself becomes part of the excitement.
Finishing Touches That Make It Yours
A neatly trimmed tail or a small extra element turns a standard bow into something memorable. Cut tails at a sharp angle or notch them. Tuck a sprig of dried lavender, a cinnamon stick, a small pinecone, or a sprig of eucalyptus under the knot for seasonal scent and texture. A wax seal, a custom tag, or a tiny ornament can sit right at the center.
Match the style to the recipient. Minimalist friends often prefer one beautiful ribbon and clean lines. Kids and playful adults enjoy multiple colors, long curls, and maybe a little extra sparkle. Formal occasions call for coordinated tones and precise loops.
If you wrap gifts in batches (holidays, multiple birthdays), set up a small station with pre-cut lengths, scissors, tape, and tags. Consistency across several packages looks especially put-together when they sit together under a tree or on a table.
Common Mistakes and How to Avoid Them
Too little ribbon is the most frequent problem. The bow ends up tiny and the tails disappear. Always err on the side of longer.
Pulling the initial wrap too tight can crush the paper or leave ridges. Snug is good; strangling is not.
Leaving the center knot loose means the whole thing shifts the moment someone picks up the gift. Tighten fully, then lock with a hidden bit of tape if needed.
Forgetting to fluff the loops leaves a flat, sad bow. Take five seconds to open and shape them.
Using dull scissors creates ragged ends that fray immediately. Sharp cuts look deliberate.
Putting It All Together for Real Life
Start simple. Master the single centered bow with decent tails. Once that feels automatic, add a second ribbon layer or curled streamers when the occasion deserves a little more. The difference between a plain wrapped box and one finished with ribbon is often the difference between “thanks” and “this looks amazing.”
Good ribbon work also stretches your gift budget. An affordable present presented beautifully often lands with more impact than a pricier one thrown in a bag. That principle serves you well whether you are choosing cozy comforts, small tokens, or something more personal.
Keep a few favorite spools on hand in versatile colors (cream, navy, forest, soft gold, classic red) plus one or two fun patterns. You will be ready for almost any occasion without a last-minute store run.
With a little practice the process becomes relaxing rather than stressful. You get a quiet moment of making something nice for someone else, and the recipient gets that small lift of receiving a package that clearly had care put into it. That is the whole point.
Frequently Asked Questions
How much ribbon do I need for a standard gift box?
Measure once around the box in the direction you will wrap, then add 12 to 16 inches total for the bow and tails (6 to 8 inches per side). For a typical shirt-sized box that usually lands between 3 and 4 feet of ribbon. When in doubt, cut longer; you can always trim.
How do I make ribbon curls that actually hold?
Hold the ribbon taut against the open blade of your scissors and pull steadily from the base of the tail toward the end. Wired ribbon keeps the curl longest. Satin works with a lighter touch so it does not fray. Curl just before you present the gift if you want maximum bounce.
What is the easiest bow for beginners?
The classic single loop bow described above is the most reliable starting point. Cross the ends, make one loop, wrap the other end around, pull the second loop through, and tighten. Practice on scrap ribbon twice and you will have it. Everything else builds from there.
Can I wrap a gift with ribbon if I do not have wrapping paper?
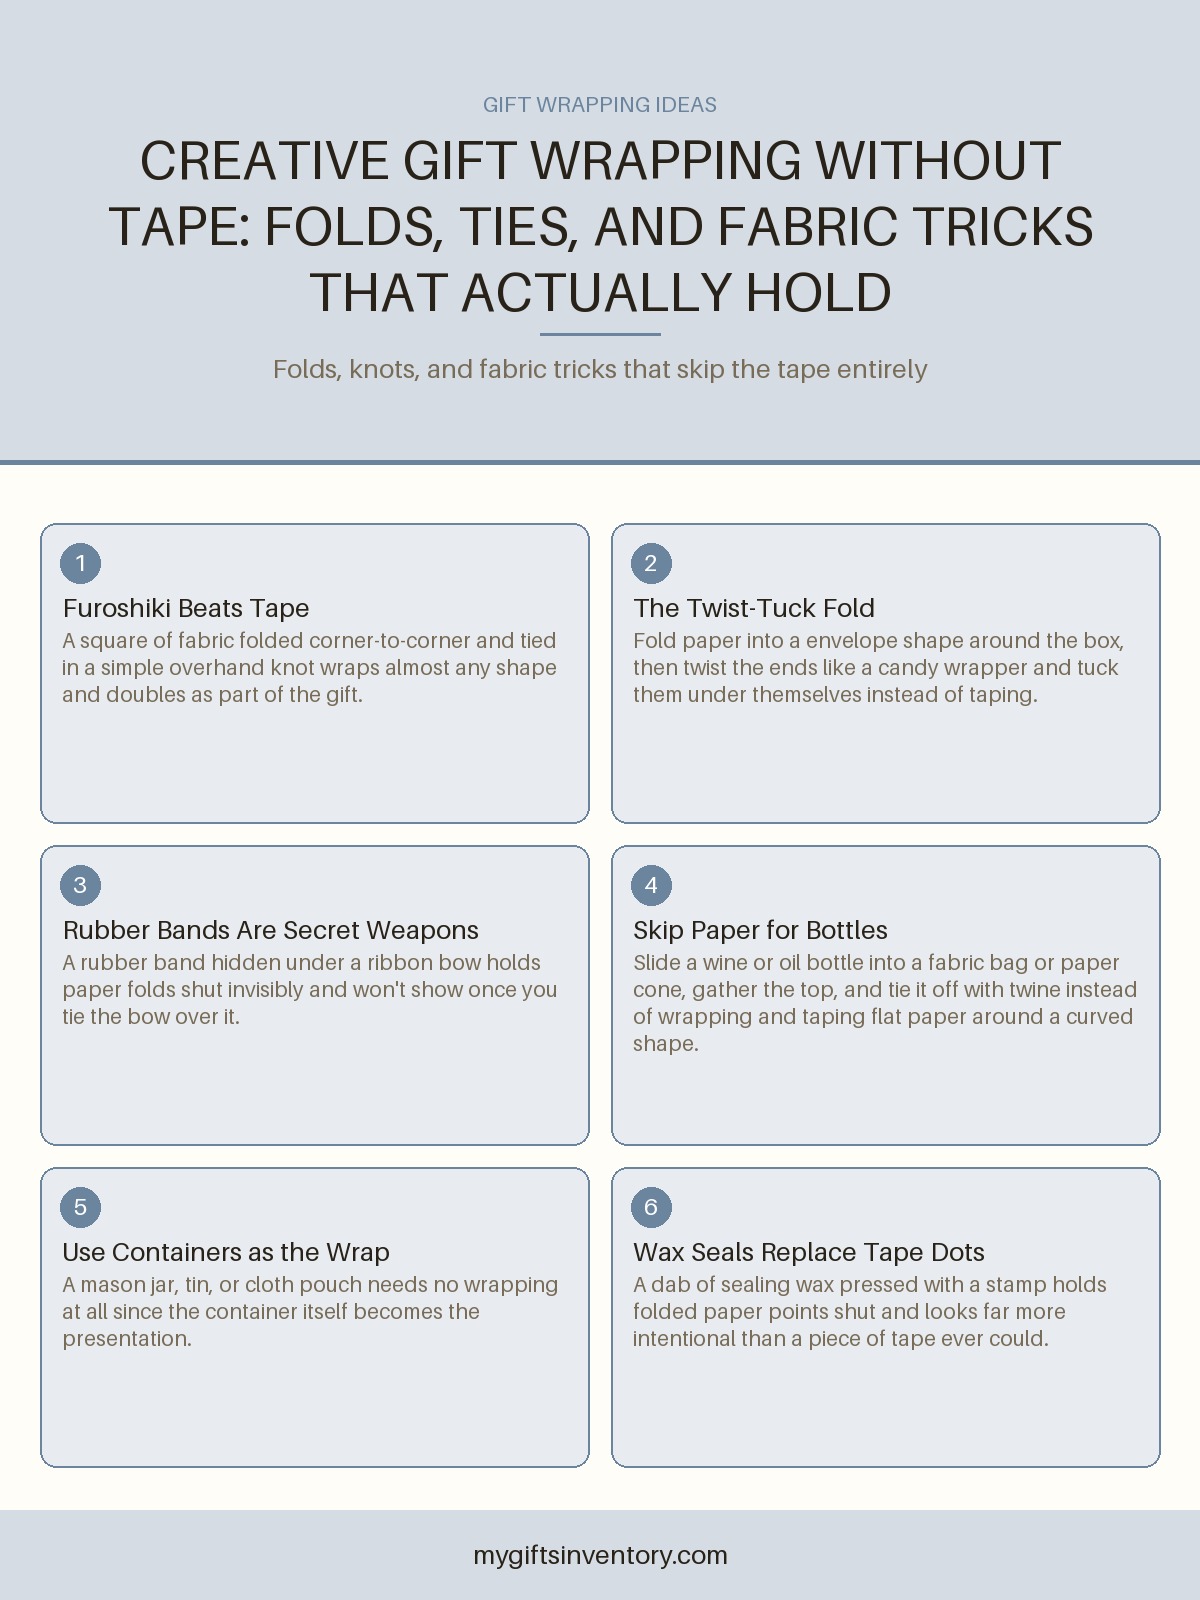
Yes. Place the item in a simple box, bag, or even sturdy tissue, then treat the ribbon as the main decoration. A wide band with a full bow, or ribbon wrapped in both directions with a centered knot, still looks finished and thoughtful.
How do I keep the bow from sliding off smooth paper?
After you tighten the knot, slip a small piece of double-sided tape or a glue dot underneath the center. It stays invisible and locks everything in place even if the package is carried or stacked.
Looking for an Actual Gift Instead?
More Gift Advice