How to Wrap a Gift: A Real Step-by-Step Guide (Even If You're All Thumbs)
From measuring paper correctly to wrapping bottles, books, and oddly shaped presents, here's how to get a gift looking crisp without owning a single craft supply.
As an Amazon Associate, My Gifts Inventory earns from qualifying purchases. We only recommend products we'd genuinely consider buying ourselves.
You've got the gift. You've got a roll of paper from three Christmases ago. And now you're standing at the kitchen table at 11pm wondering why your corners look like a crumpled napkin while everyone else's gifts under the tree look like they came from a department store counter. Wrapping a gift well isn't really about talent, it's about knowing a handful of specific moves that nobody ever actually teaches you.
We're going to walk through the whole thing: measuring paper so you don't run out halfway through, folding corners so they're sharp instead of bunched, and what to do with the gifts that never wrap cleanly no matter how many videos you've watched, like wine bottles, board games, and anything shaped like a cone.
What You Actually Need Before You Start
You don't need a craft store haul. A good wrapping setup is genuinely just five things: wrapping paper, a roll of tape (double-sided if you can find it), scissors sharp enough to cut a straight line, ribbon or twine, and a flat surface bigger than the gift itself. That last one matters more than people think. Wrapping on a cluttered counter or on your lap is where most crooked folds come from.
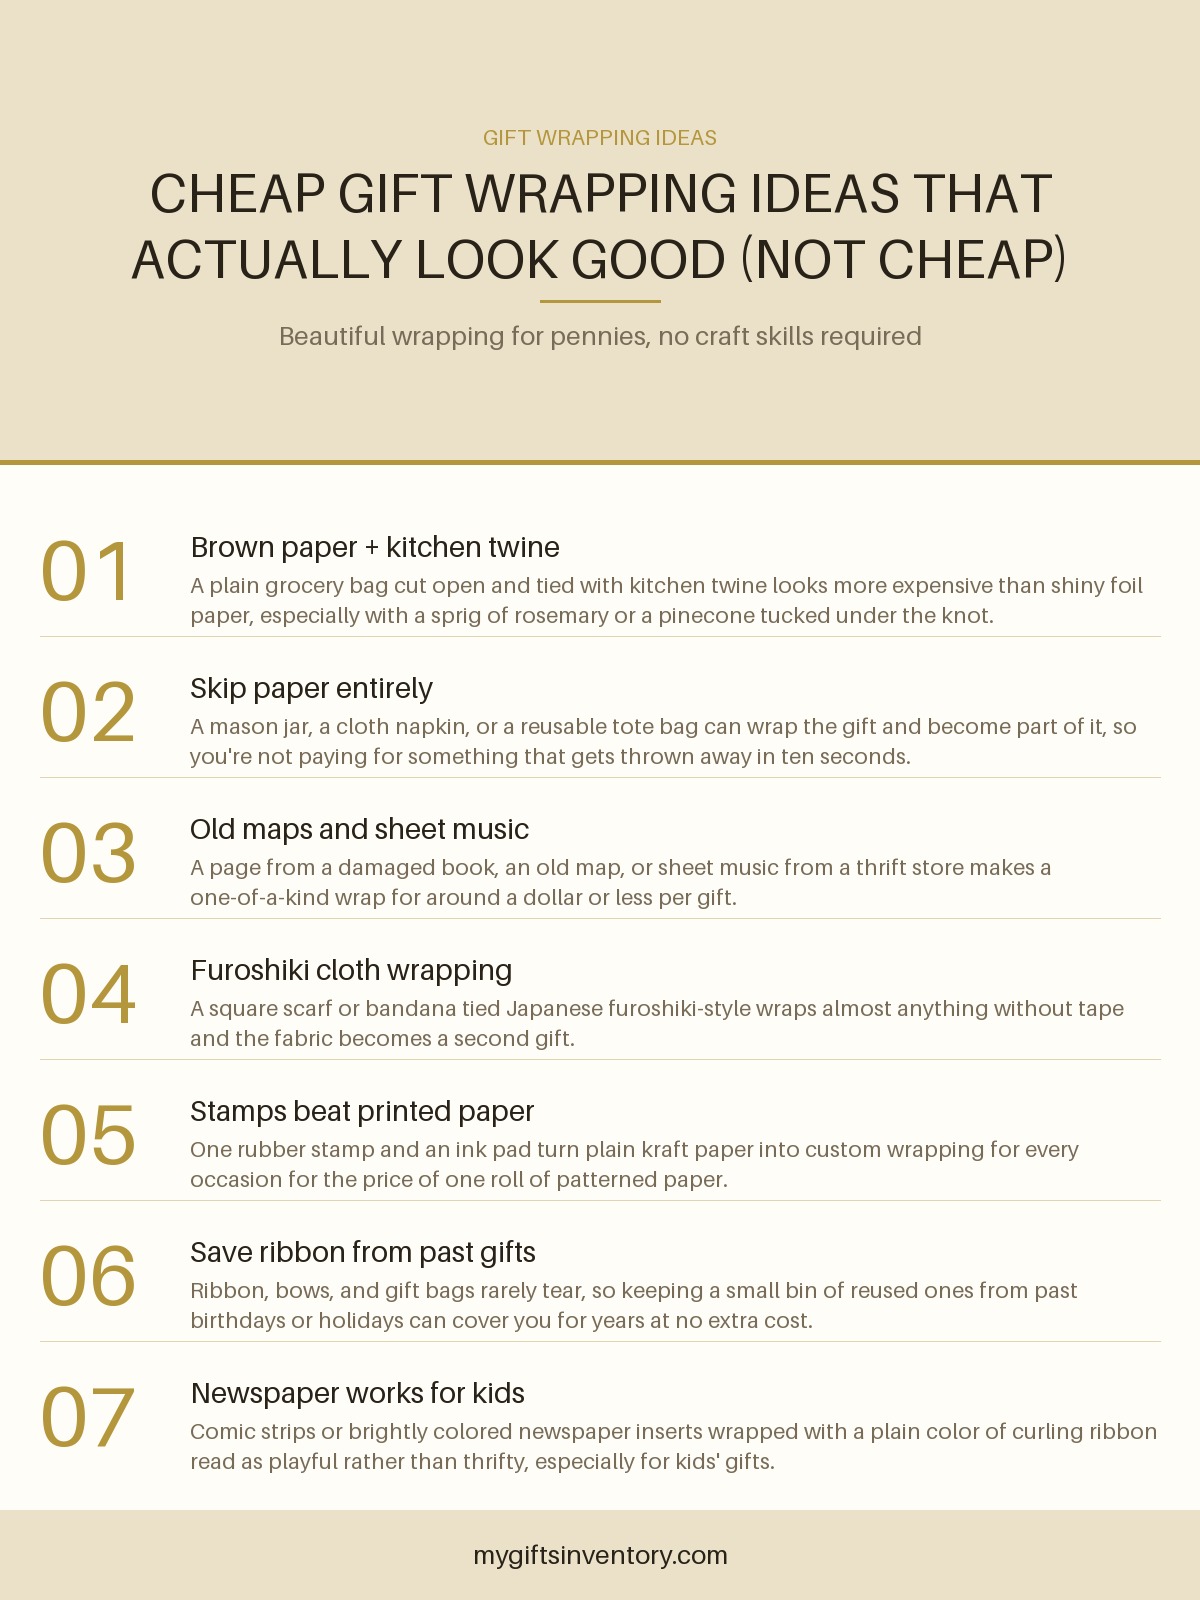
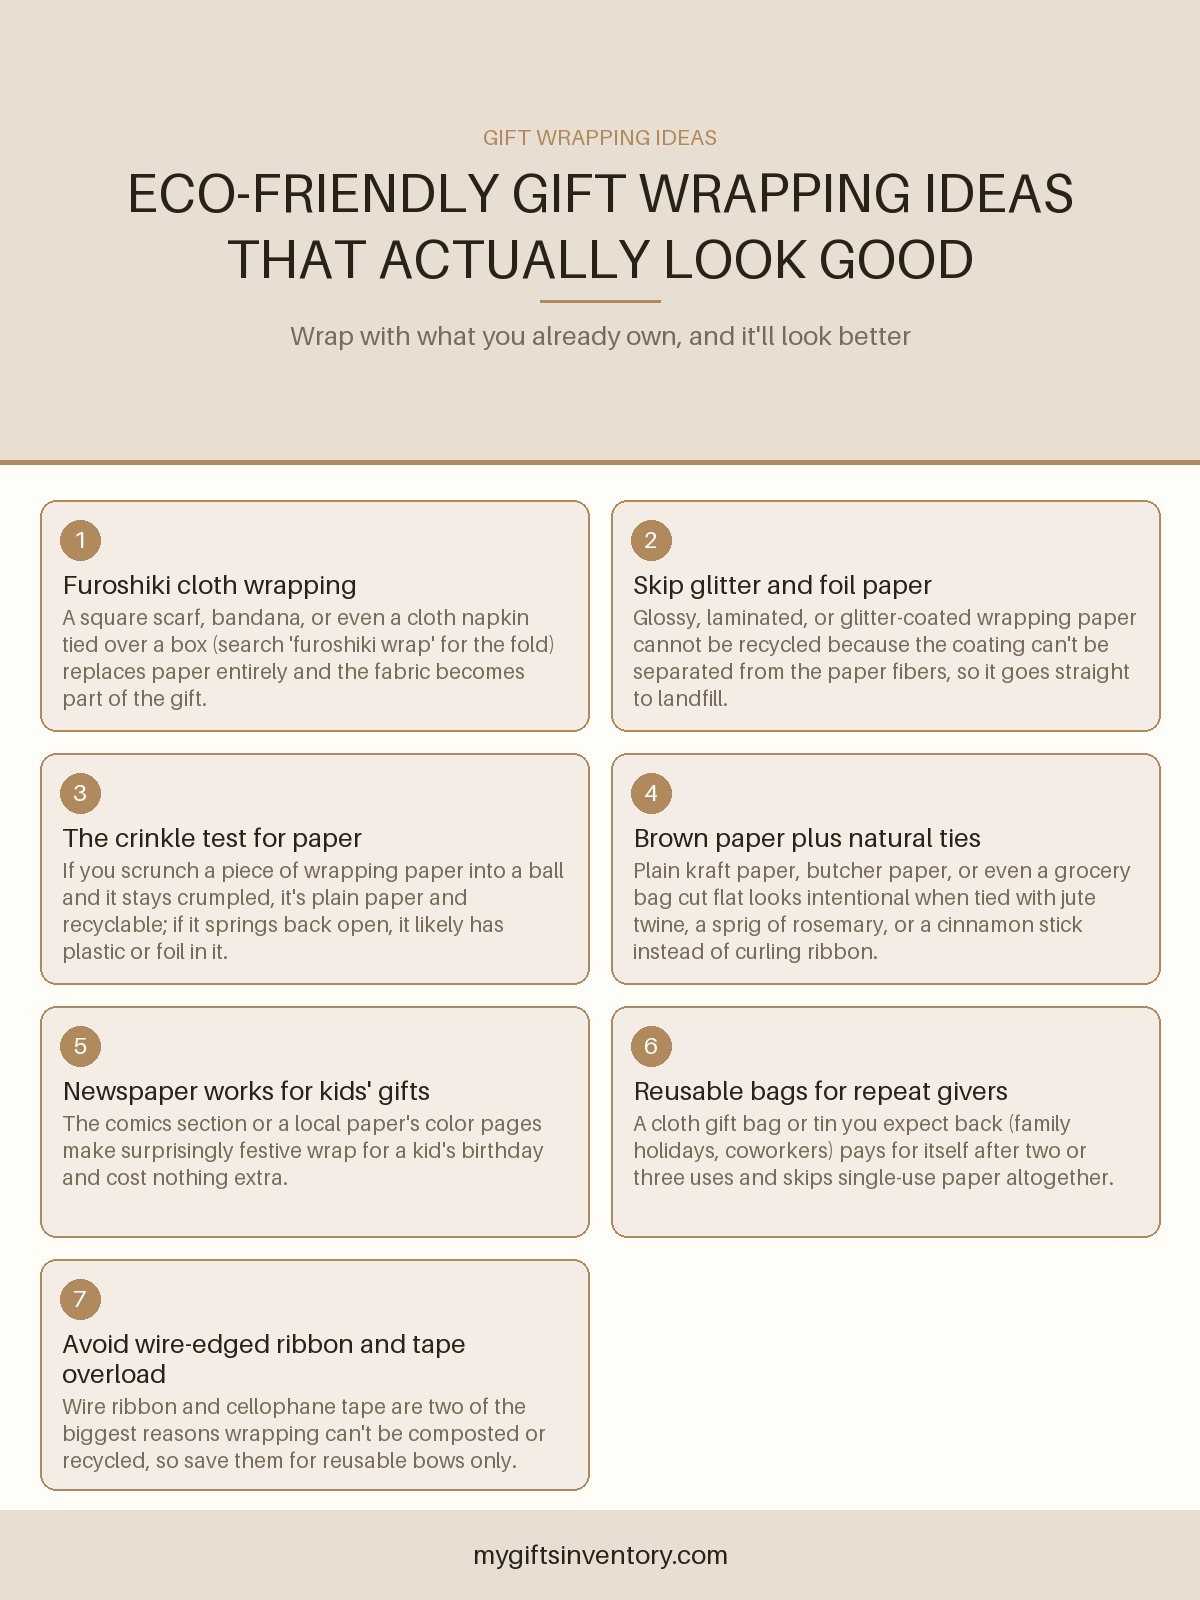
If you're wrapping for a dorm room gift exchange or anything on a tight budget, plain kraft paper or even a brown paper grocery bag dressed up with twine and a sprig of greenery looks more expensive than a lot of licensed character paper does, and it costs almost nothing. If you're shopping for the actual gift too, our college dorm gift ideas under $20 list pairs well with that kind of low-key, high-effort wrapping.
The Classic Box Wrap, Step by Step
This is the technique that works for roughly 80% of gifts, anything boxy: shoeboxes, small appliances, board games, most clothing boxes.
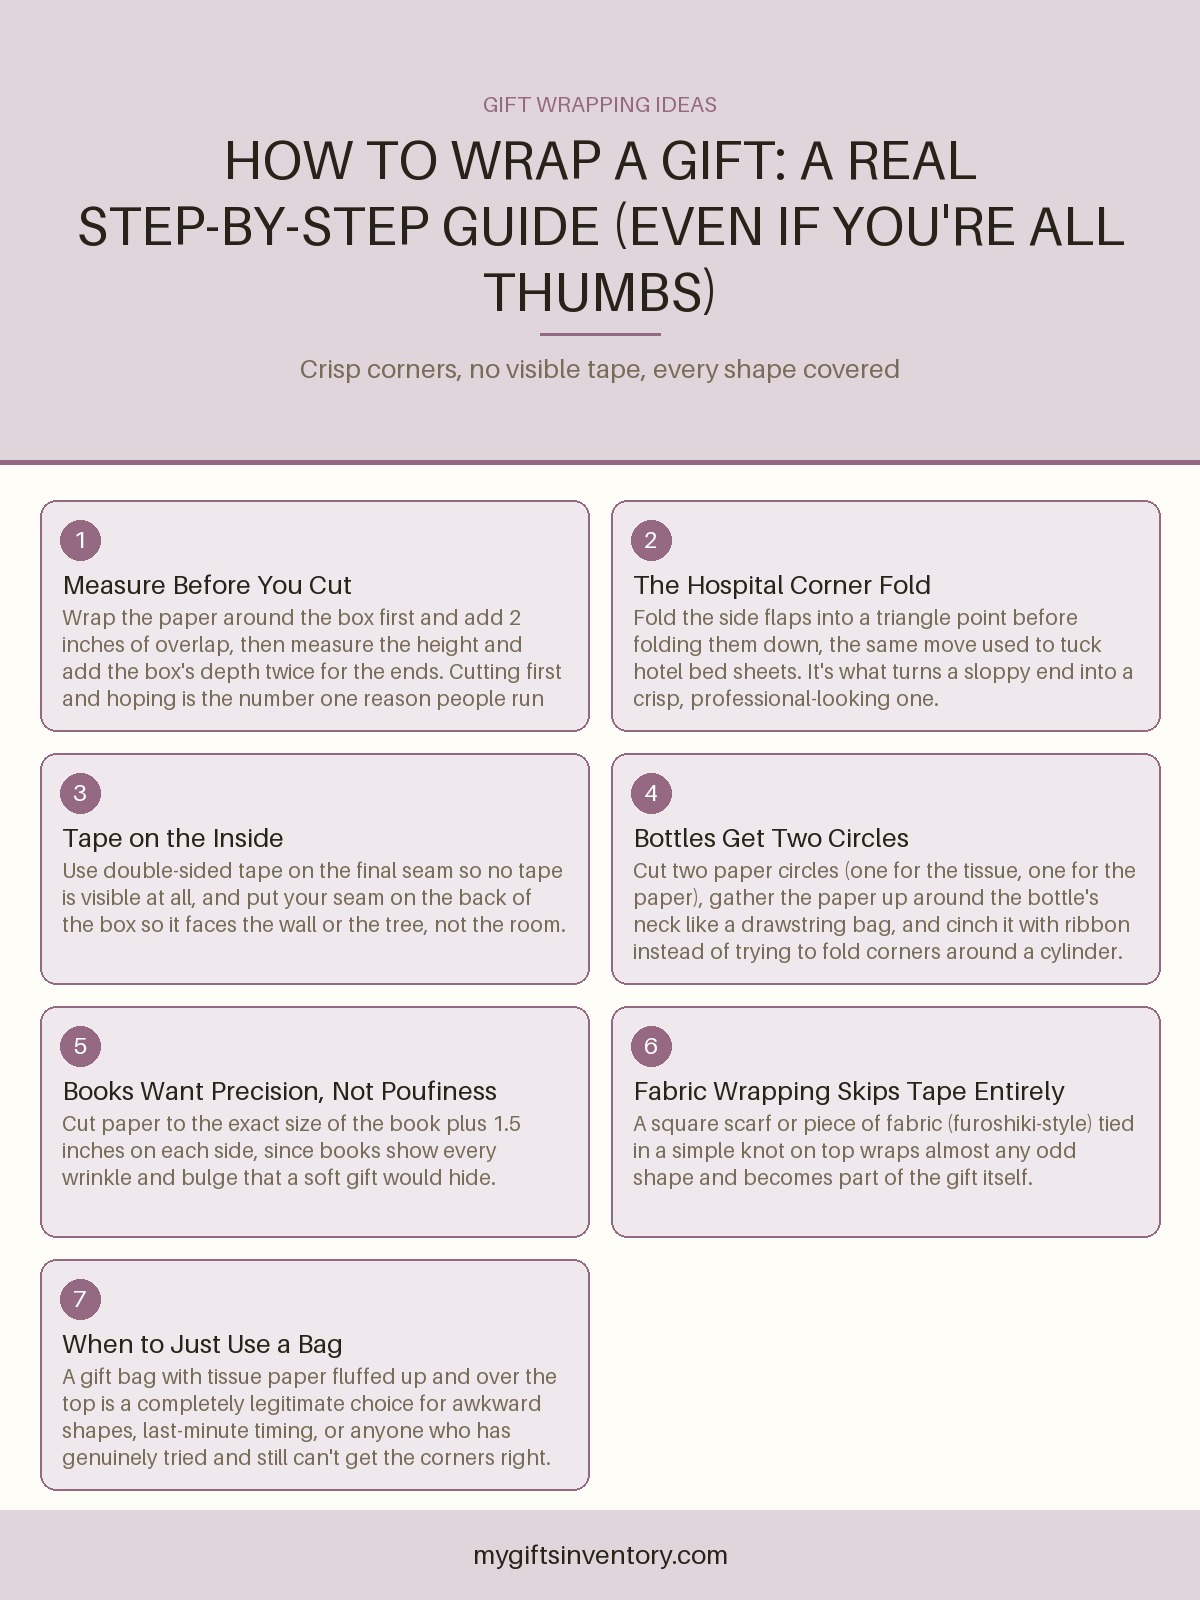
- Measure first. Lay the box on its side in the middle of the paper. Pull the paper up and around so it overlaps the top by about 2 inches, then cut. For the width, the paper needs to reach the depth of the box plus a couple extra inches on each end to fold in.
- Center the box and bring the paper up. Tape the top edge down first, then bring the other side up and over it, tucking it under slightly before taping so the seam sits flat rather than sticking up.
- Fold the ends like hospital corners. Push the side flaps in to form a triangle point, crease it hard, then fold the point down and tape. This single move is what separates "wrapped by a kid" from "wrapped by someone who's done this before."
- Hide your tape. Turn the seam to face the back of the box before it goes under the tree or into a bag. If you have double-sided tape, use it on the main seam so no tape is visible from the front at all.
This is the same skill set you'd use for something like a set of mugs or a small home item, which is where a gift like the ones in our home decor gifts under $50 roundup would land, a mid-sized rectangular box with sharp corners.
Wrapping the Shapes That Never Cooperate
Almost everyone can wrap a box. It's the weird stuff that sends people looking up "how to wrap a gift" in the first place.
Bottles (Wine, Olive Oil, Perfume)
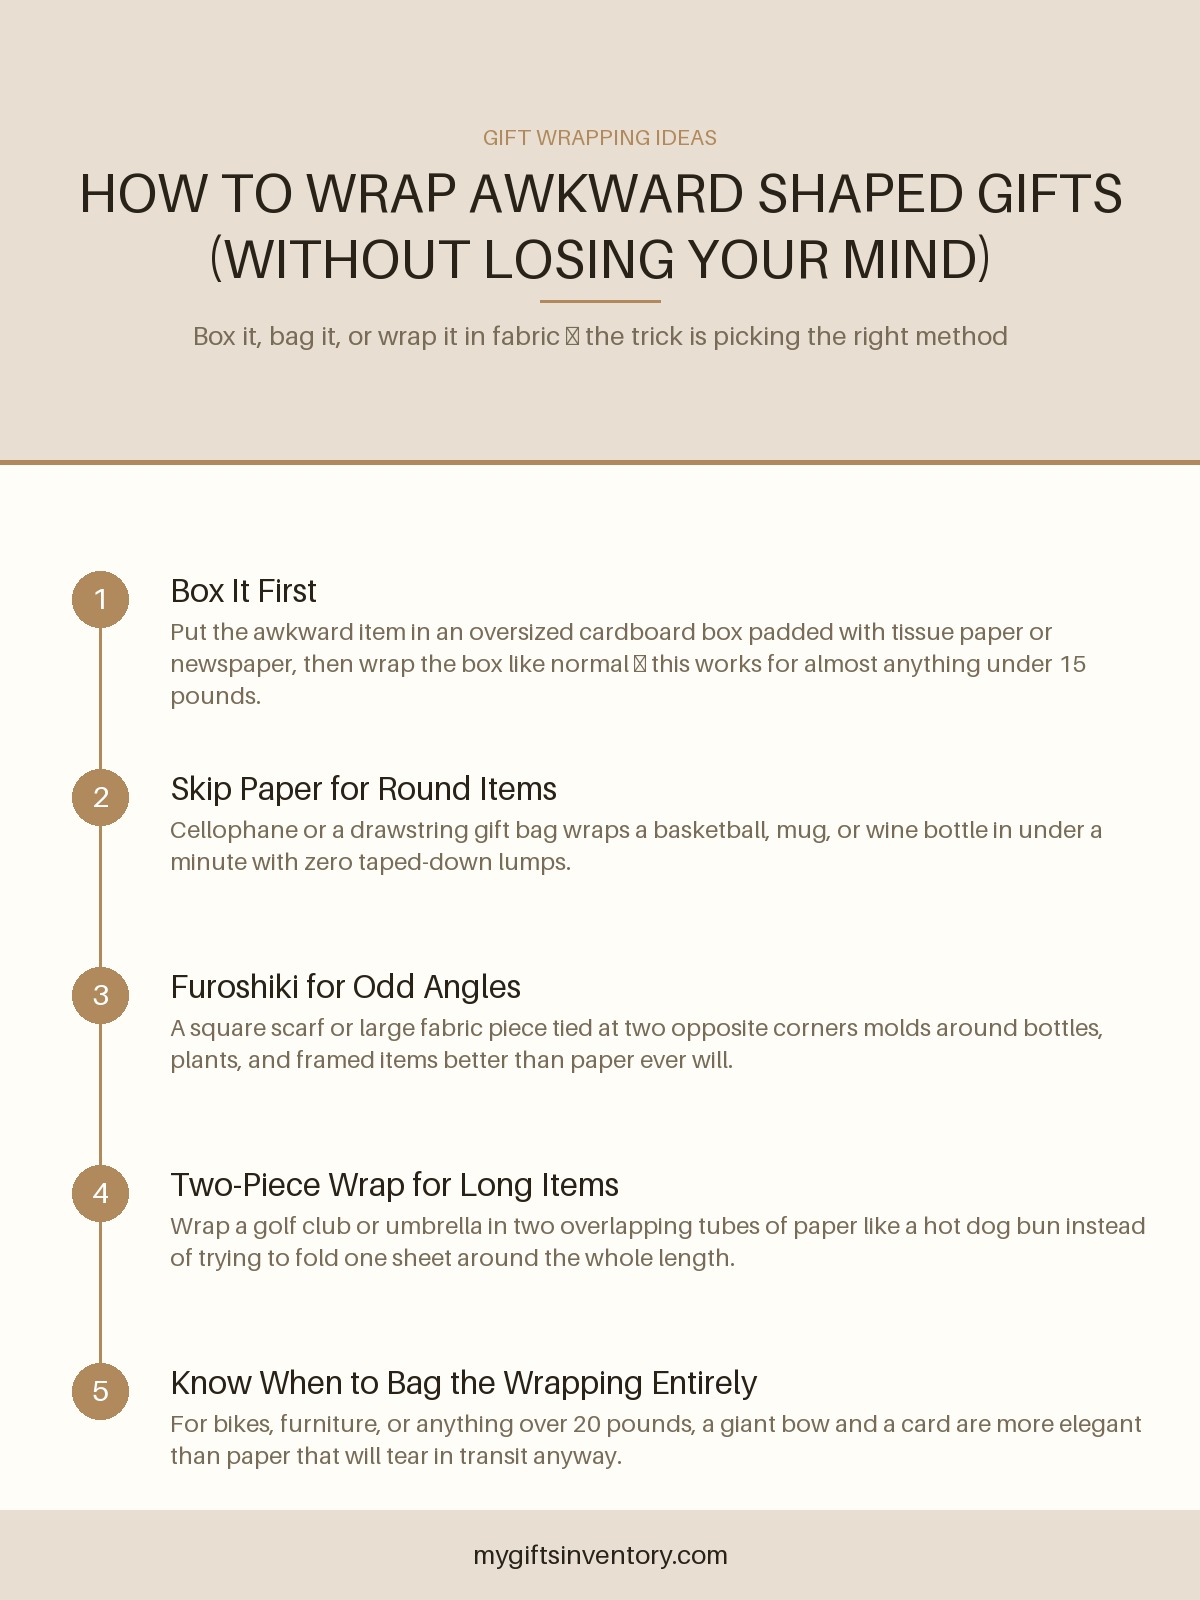
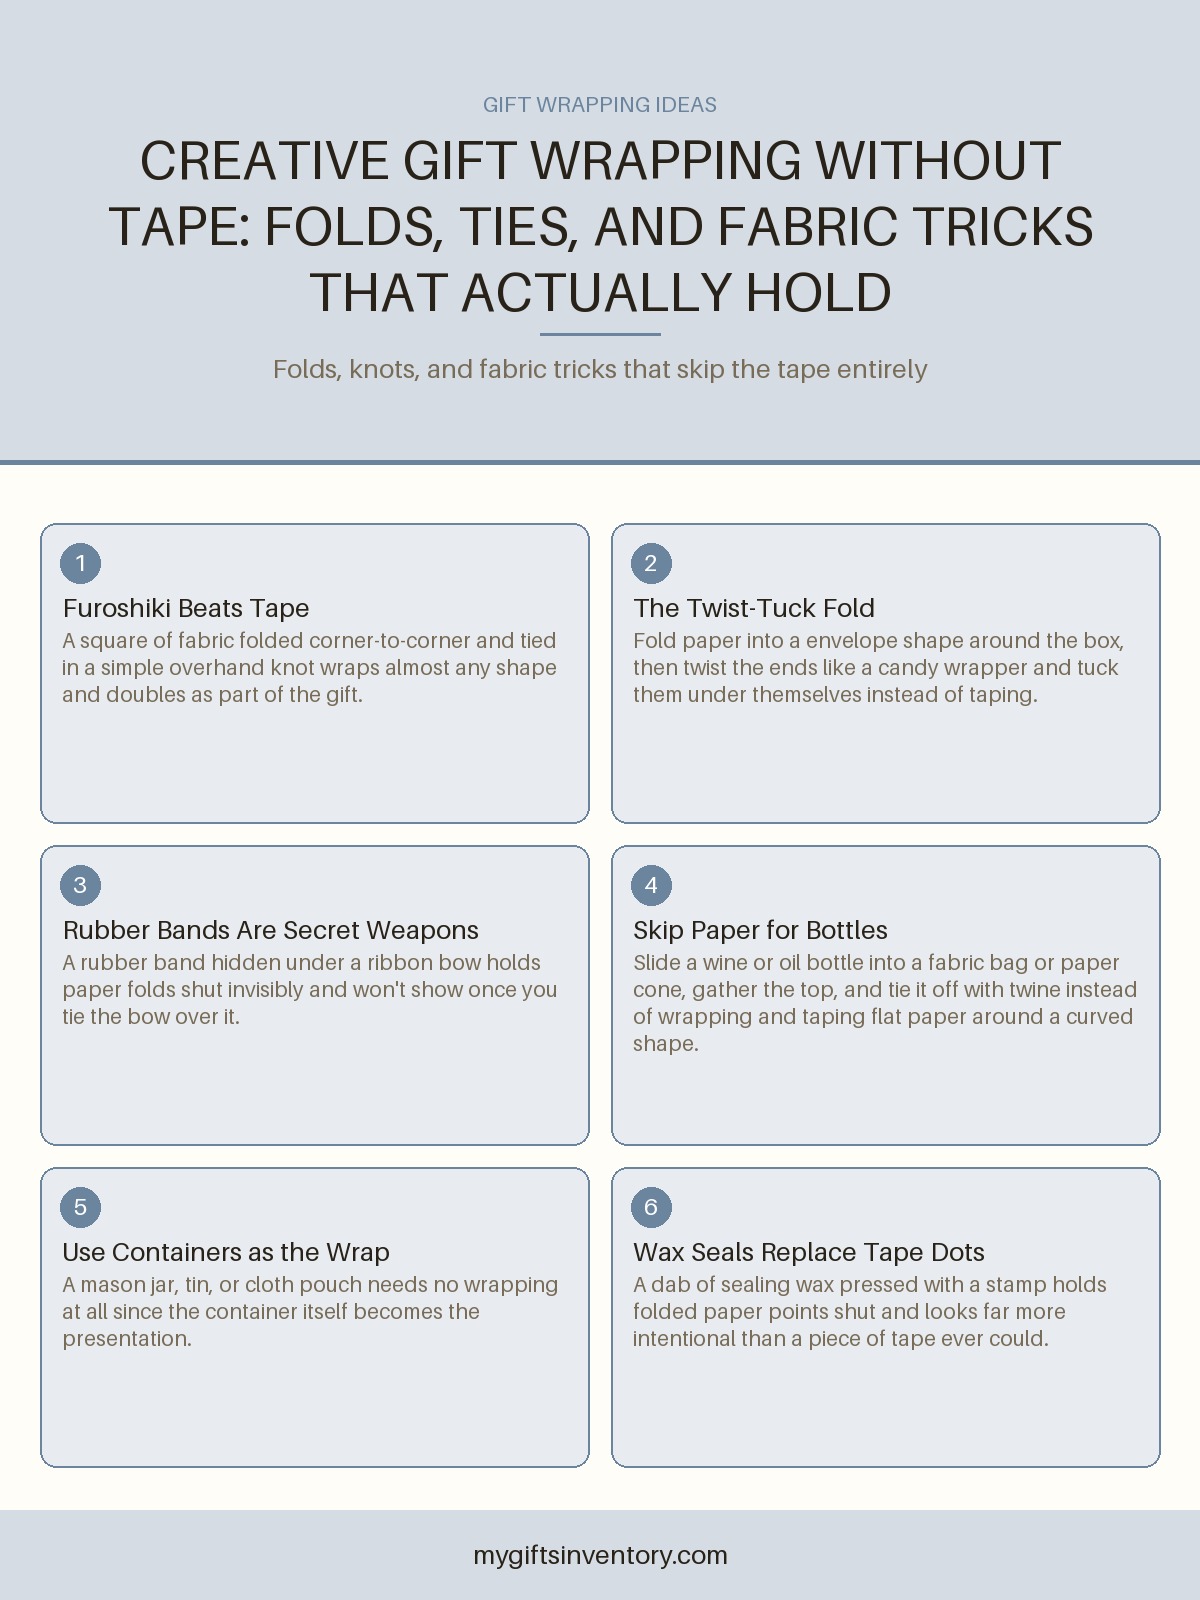
Don't try to fold paper around a cylinder, it never lies flat. Instead, cut a large circle of paper (or use a double layer of tissue and paper), gather it up around the bottle's neck like you're making a little sack, and tie it off with ribbon or raffia. It looks intentional and takes about ninety seconds.
Books
Books are unforgiving, every crease shows. Lay the book on the paper and cut close, about 1.5 inches of overlap on each side rather than the 2 inches you'd use for a box, then fold the ends in tight, flat triangles rather than the puffier fold you'd use on something soft. A book wrapped too loosely will look sloppy no matter how good your corners are.
Clothing and Soft Items
Fold the item into as flat and rectangular a shape as you can before boxing it, or skip the box and wrap it directly in tissue first so it holds a cleaner shape under the paper. A tumble of loose fabric under wrapping paper will always look lumpy, so a minute spent folding it neatly first pays off.
Oddly Shaped or Fragile Items
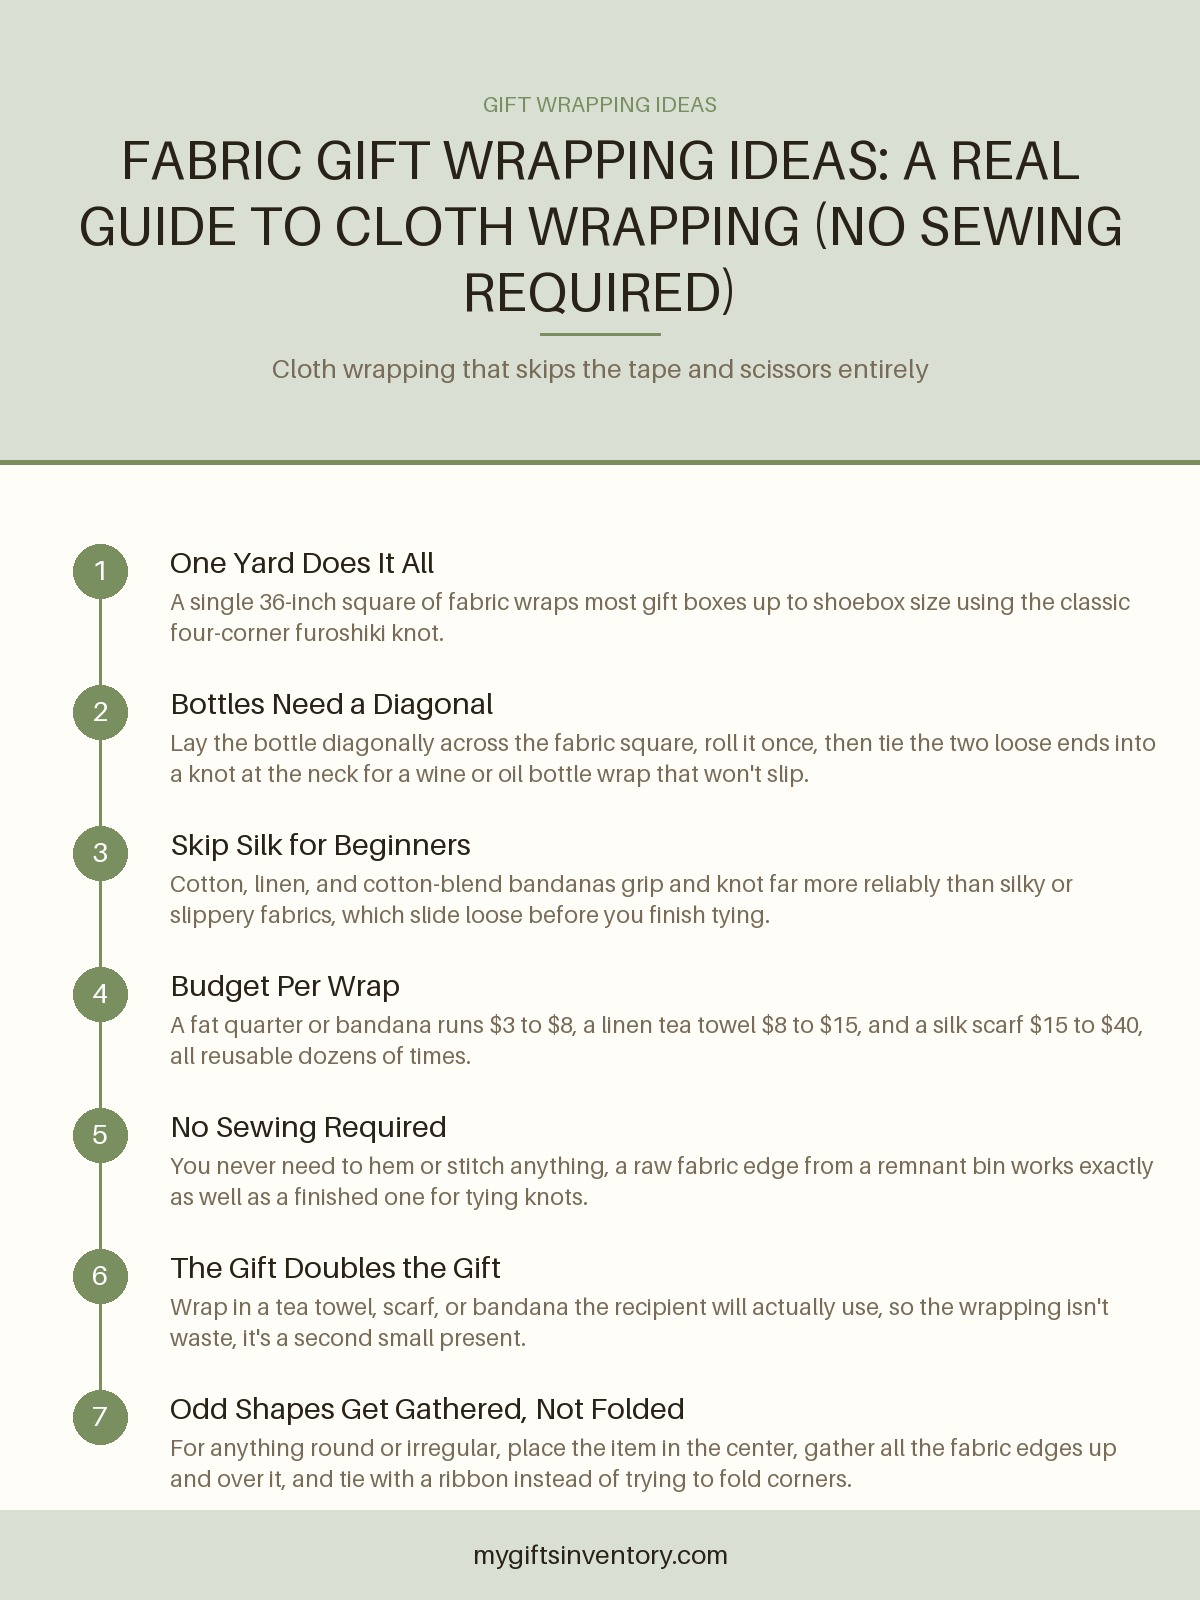
For anything with a lot of angles, a plant, a mug set, a piece of jewelry in a gift box, the fabric wrapping method (sometimes called furoshiki) solves problems paper can't. Lay the item in the center of a square scarf or piece of fabric, bring opposite corners up and knot them on top, twice if the fabric is slippery. It molds to almost any shape and there's no tape or scissors involved at all.
Ribbon, Bows, and the Finishing Touches
The wrapping is the structure, but ribbon and a tag are what make it look finished rather than just covered. A single ribbon tied in a simple cross around the box, finished with a knot or a small bow, reads cleaner than an elaborate bow most of the time. If you're wrapping something for a professional context, like a client gift from our corporate gift ideas under $50 list, keep the ribbon to one color and skip anything glittery, a simple satin ribbon in a neutral tone looks far more appropriate in an office setting than a big curling-ribbon bow.
Always add a tag, even a plain one. It doesn't need to be fancy, a strip of cardstock with the person's name and a small doodle or sticker does the job, but a gift with no name on it under a pile of others is a headache for whoever's handing them out.
When Wrapping Paper Isn't the Move
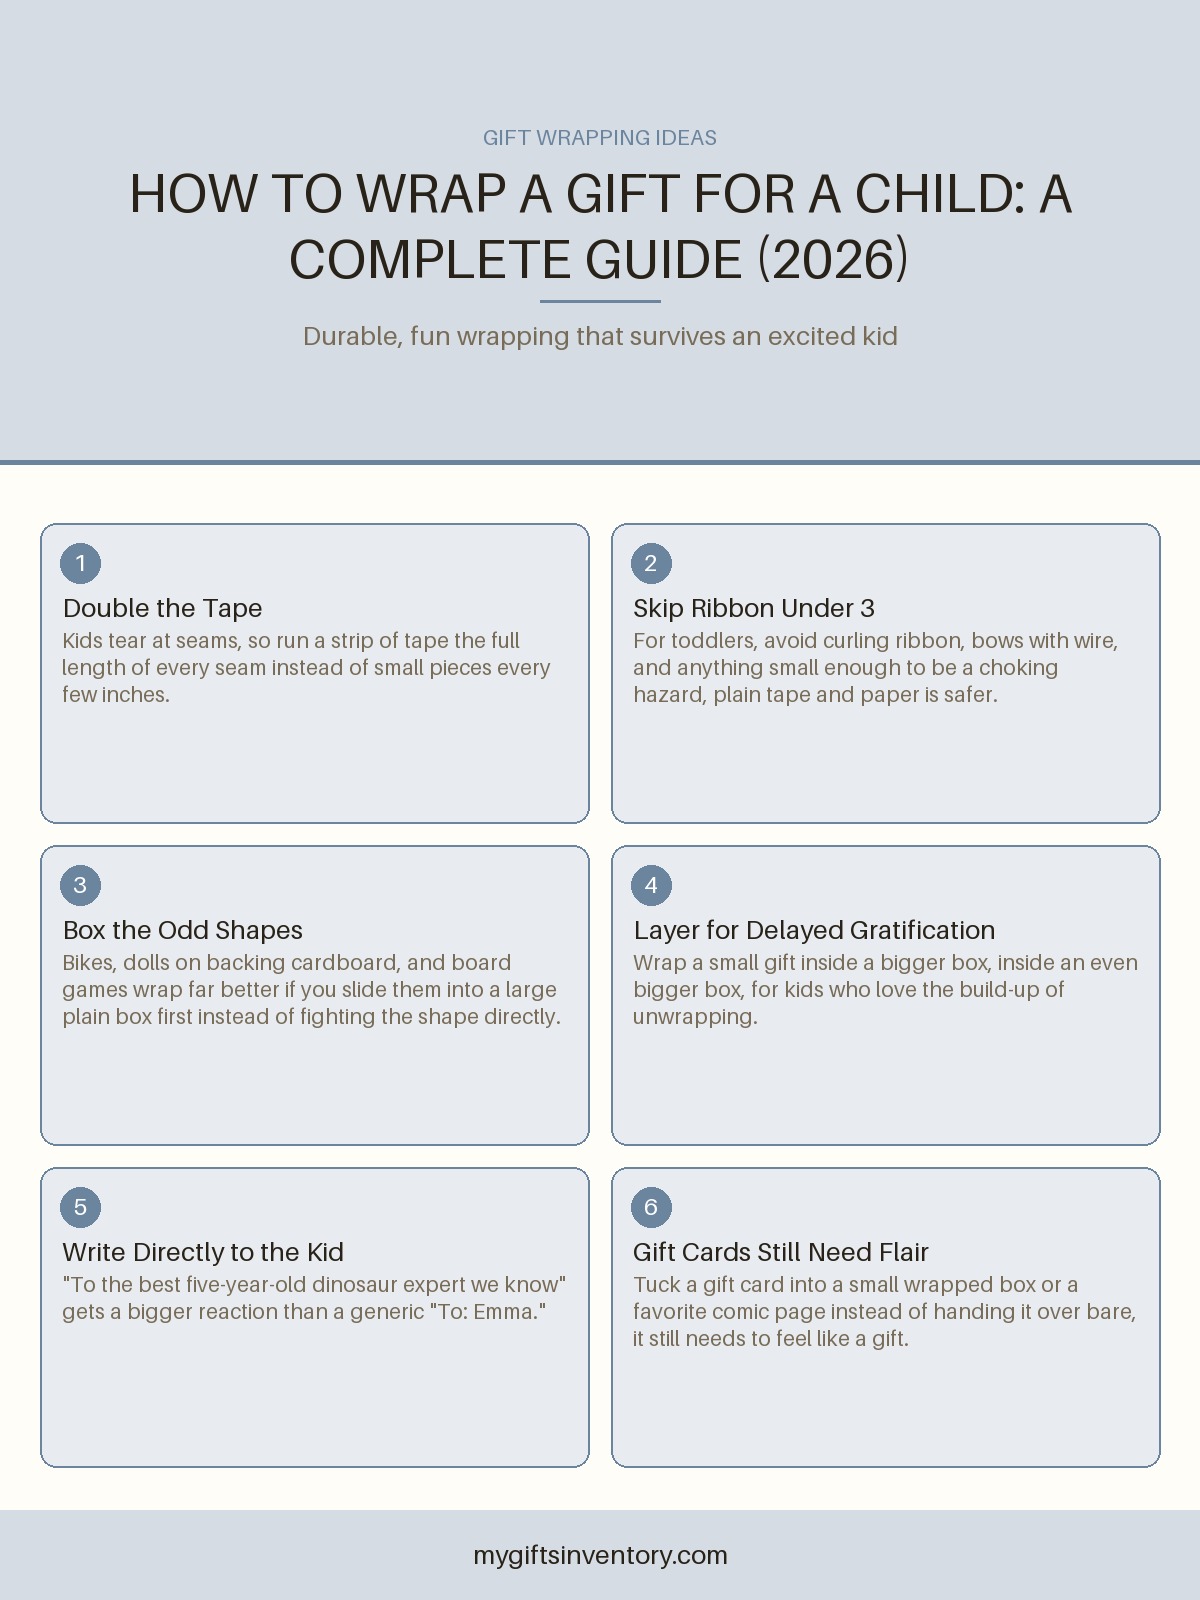
Sometimes the best answer to "how do I wrap this" is to not wrap it in paper at all. A sturdy gift bag with tissue paper fanned out over the top handles awkward shapes, last-minute timing, and anything too fragile to risk taping around. It's not a lesser option, plenty of beautifully put-together gifts skip paper entirely in favor of a nice bag and well-chosen tissue colors.
And if the actual gift is a gift card, the "wrapping" conversation shifts a little, since the card itself is small and the packaging is really about presentation. Tucking it into a small box with tissue, or slipping it into a card with a handwritten note, tends to feel more thoughtful than handing over a bare card in its plastic sleeve. If the recipient ever needs to check what's left on it, cards for retailers like Target or Amazon can be checked online directly through the retailer, which is worth mentioning in the card itself if the person isn't used to gift cards.
Common Wrapping Mistakes Worth Fixing
A few small habits account for most of the "why doesn't this look right" frustration:
- Cutting the paper before measuring it against the box. This is the single biggest cause of running short mid-wrap.
- Using too much tape on the outside. Visible tape is one of the fastest ways to make a wrap look rushed. Double-sided tape or tape folded under itself solves this.
- Skipping the crease. A hard, deliberate crease at every fold is what makes corners look sharp instead of soft and rounded.
- Wrapping directly over a bow or ribbon that's already on the box. Remove any existing packaging ribbon first, it almost always bunches up under new paper.
None of this replaces thinking about the gift itself, of course. If you're still deciding what to actually put in that carefully wrapped box, our guide on choosing the perfect gift for every person and occasion is a good place to start before you even get the paper out.
Frequently Asked Questions
How much wrapping paper do I actually need for a box?
Lay the box on its side in the center of the paper and pull the paper up and over the top, it should overlap by about 2 inches, that's your length. For width, you need enough to cover the box's depth on both ends plus a couple of extra inches to fold in, so measure against the actual box rather than guessing and cutting first.
What's the best way to wrap a bottle of wine or oil without it looking messy?
Skip trying to fold paper around the cylinder, it never lies flat and always bunches at the seams. Instead cut a large circle of paper, gather it up around the neck of the bottle like a small sack, and tie it closed with ribbon or twine, which takes under two minutes and looks deliberate rather than fussy.
Is it okay to just use a gift bag instead of wrapping paper?
Yes, a gift bag is a completely legitimate choice, not a shortcut to feel guilty about. It's actually the better option for oddly shaped, fragile, or last-minute gifts, and a bag filled with well-fluffed tissue paper in coordinated colors looks just as intentional as a paper-wrapped box.
How do I keep the tape from showing on the outside of the wrap?
Use double-sided tape on the main seam so it's sandwiched between two layers of paper and never visible from the outside. If you only have regular tape, fold a small piece of it under itself before pressing it down, or place your visible seams and folds on the back and bottom of the box.
What should I do if I run out of wrapping paper partway through?
Patch it with a coordinating piece of tissue paper or a strip of a different paper along the seam, then cover the seam with a wide ribbon so it looks like a design choice rather than a shortage. It's also worth measuring the paper against the box before cutting next time, since running short is almost always a measuring problem rather than a paper problem.