How to Wrap a Round Gift Without the Tears (or Tape Disaster)
Round gifts fight standard wrapping paper. Here are the methods we actually use for spheres, balls, candles, and curved boxes so the present looks intentional instead of lumpy.
As an Amazon Associate, My Gifts Inventory earns from qualifying purchases. We only recommend products we'd genuinely consider buying ourselves.
We have all been there: a beautiful round candle, a soccer ball, a ceramic ornament, or a fancy bath bomb sitting on the table while the wrapping paper refuses to cooperate. Flat boxes are easy. Curves create wrinkles, bare spots, and that sad crumpled look that says “I gave up.” The good news is you do not need specialty kits or hours of practice. A few reliable techniques turn almost any sphere or curved shape into something that looks deliberate and gift-ready.
Below we walk through the methods we reach for most often, what paper and extras actually help, and when it is smarter to switch to a bag or box. Whether you are prepping holiday presents, a birthday ball, or a last-minute hostess gift, these approaches keep the focus on the person opening it instead of the struggle that got it there.
What You Actually Need on the Table
Start with the right supplies so you are not fighting the materials halfway through. Standard thin wrapping paper tears easily on curves. Look for paper with a bit of body, or double up with tissue underneath. You will also want sharp scissors, double-sided tape or clear tape, and ribbon or twine that can cinch without cutting the paper.
A square of paper works better than a long rectangle for most round gifts because the corners can meet more evenly at the top. If your roll is narrow, piece two sheets together on the underside with tape before you begin. Tissue paper is your secret smoothing layer. It molds to the shape, hides fingerprints or tape, and gives the outer paper something soft to fold against. For heavier items like a bowling ball or large candle, keep a small box or sturdy bag nearby as a backup. We would rather hand over a neat bag than a half-destroyed paper attempt.
Optional but useful: washi tape in a coordinating color for visible seams, a hole punch for tags, and a bit of filler tissue if you end up using a bag. If the gift itself is fragile or has a delicate finish, the tissue layer also protects it during the fold-and-tug stage.
The Classic Gather-and-Twist Method
This is the fastest reliable technique for true spheres and near-spheres. Think ornaments, bath bombs, small globes, round soaps, or a soft fabric-covered ball. It creates a pouch effect that looks intentional once you top it with a bow.
Step-by-step
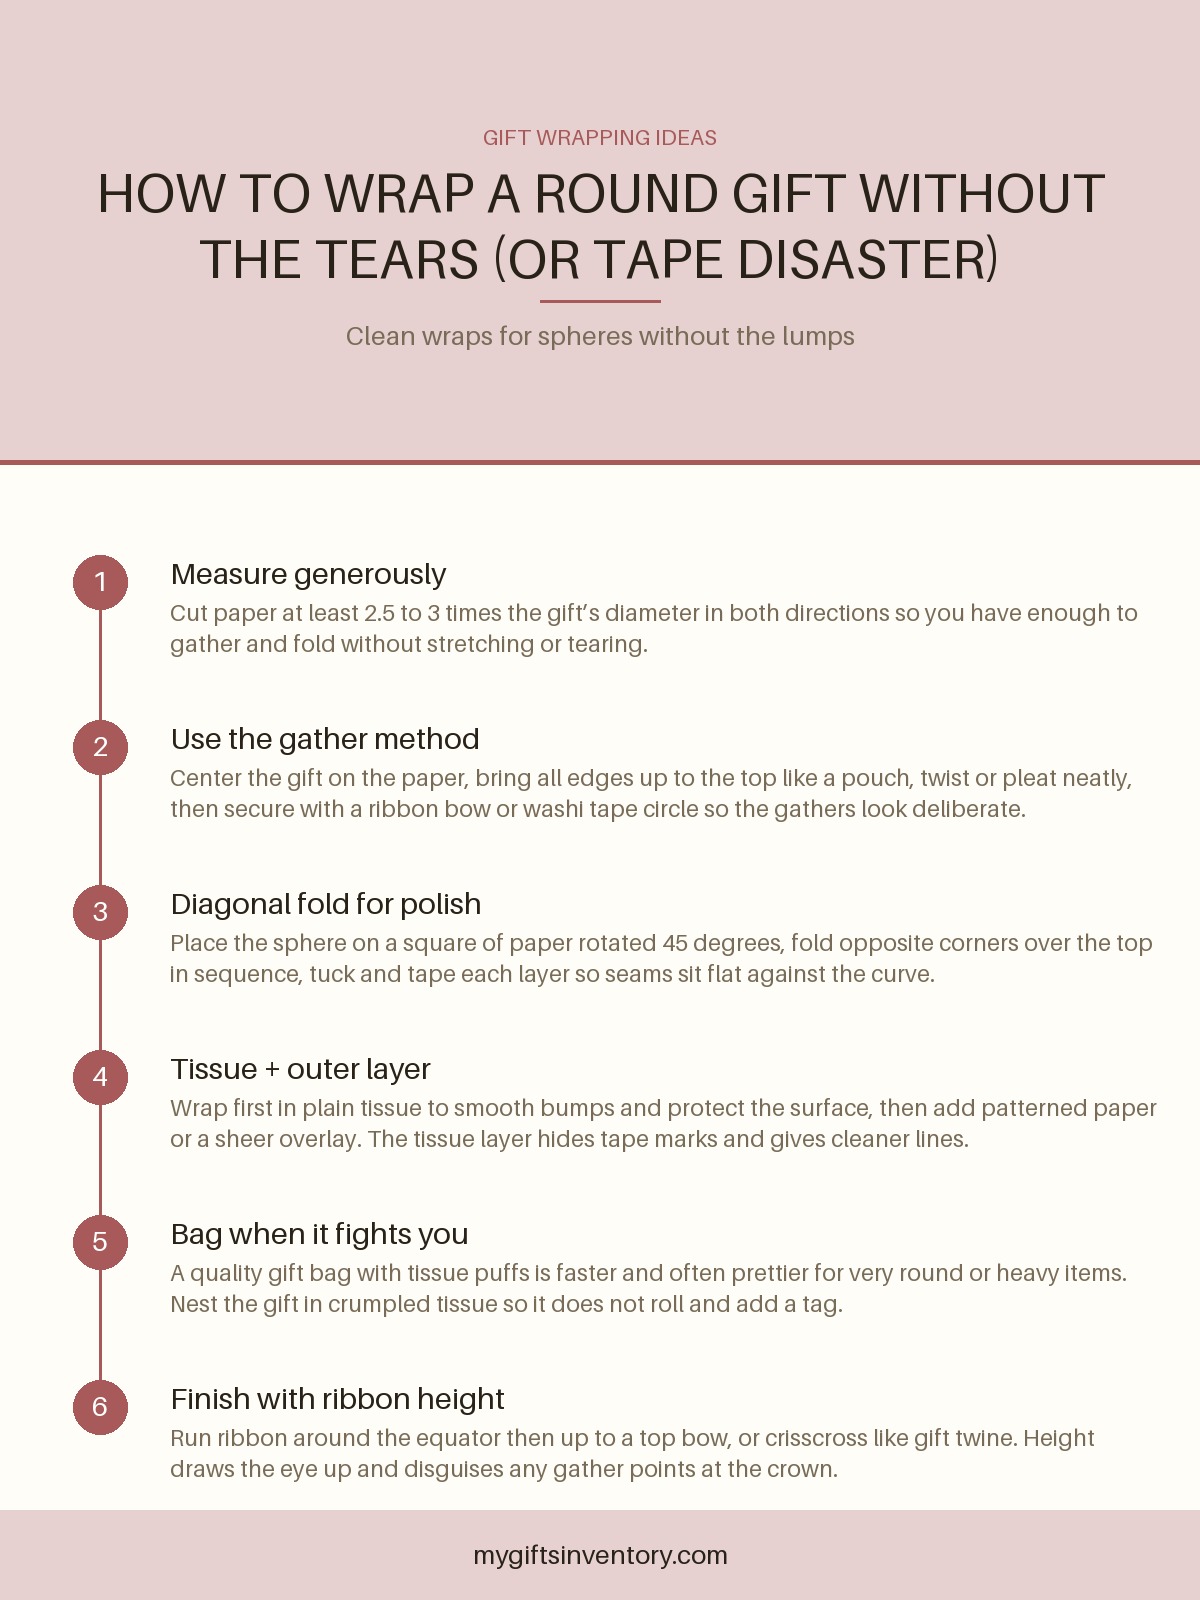
Measure and cut a square or generous rectangle of paper. A good rule is roughly 2.5 to 3 times the diameter of the gift in both directions. Too little paper and you will stretch and tear; too much and the gathers become bulky. Place the gift in the center. If it can roll, rest it in a shallow bowl or have a second pair of hands steady it for the first folds.
Bring opposite sides of the paper up to meet above the gift, then bring the remaining sides up so all edges gather at the top like a money bag. Smooth the paper against the curve as you go so air pockets and deep wrinkles stay minimal. Twist the gathered paper gently at the crown, or create neat accordion-style pleats all the way around if you want a cleaner look. Secure the twist or pleats with a piece of tape tucked inside, then cover the gathering point with a wide ribbon bow, a fabric scrap, or a circle of washi tape. The top decoration is doing double duty: it holds everything and hides the messiest part of the wrap.
For a softer finish, skip the hard twist and simply bunch the paper, tie ribbon tightly around the neck of the gather, and fan the excess paper outward like a ruffle. This works especially well with thinner or metallic papers that catch the light.
The Diagonal Corner Fold for a Cleaner Silhouette
When you want something closer to a traditional wrapped package instead of a pouch, rotate the paper 45 degrees so you are working with diamond orientation relative to the gift. This method takes a little more patience but produces flatter seams that sit closer to the curve.
Center the round gift on the square of paper. Fold one corner up and over the top of the gift, pulling snug but not so tight that the paper rips. Tape it down near the center top. Take the opposite corner and fold it over the first, again smoothing as you go, and tape. Repeat with the remaining two corners, tucking raw edges under where possible so you see mostly finished folds. You may need to create small pleats along the sides to take up excess paper; press those pleats flat with your thumbnail and secure with tiny pieces of double-sided tape hidden underneath.
The finished look is a series of overlapping triangular flaps meeting at the crown. Add a ribbon that runs under the gift and up to a bow on top, or wrap ribbon around the “equator” and finish with a knot. This style shines on medium spheres and firm round boxes. Soft or very irregular shapes still prefer the gather method.
Tissue First, Then Outer Paper
We use this two-layer approach almost every time the gift has an awkward texture, a dark color that might show through, or a surface we do not want scratched by tape. Wrap the item completely in plain tissue first, using the gather method or simple overlapping folds. The tissue compresses into the curves and gives you a smoother, more uniform shape to work with. Then apply your patterned or solid outer paper over the tissue package using either technique above. The outer layer needs less wrestling, seams look cleaner, and any tape on the tissue stays invisible.
Sheer or vellum outer layers over colored tissue create a soft glow that feels elevated without extra cost. This is a nice touch for wedding favors, hostess gifts, or anything you want to feel a bit more special. If you are putting together a group of small presents, the same tissue-plus-paper system keeps everything consistent.
Cylinders, Candles, and “Mostly Round” Shapes
True spheres are one challenge. Tall candles, wine bottles with round shoulders, rolled blankets, and cylindrical boxes are another. For these, treat the body like a standard tube wrap: roll the paper around the length, tape the long seam, then fold or pleat the ends as neatly as possible. On the bottom, push the paper flat into a series of overlapping triangles or a clean multi-fold like you would on a gift box end. On the top, you can either fold similarly or gather and tie if the item has a lid or irregular top.
Pillar candles often look best when the paper stops short of the wick area and you add a band of ribbon or a belly band that covers the raw upper edge. For a rolled throw or bulky soft item, the gather method at both ends (like a large candy wrapper) works well and feels cozy. If you are gifting something meant for cold nights, our roundup of cozy winter comfort gifts under $75 has plenty of wrap-friendly ideas that still feel substantial.
When a Gift Bag or Box Is the Better Choice
Some round gifts simply win the fight. A heavy exercise ball, a delicate glass globe, or a very large plush sphere can destroy paper no matter how careful you are. A sturdy gift bag with a generous amount of crumpled tissue paper is not a cop-out. Nest the gift so it cannot roll, fluff tissue around the top, and add a handwritten tag. The presentation still feels considered.
Another strong option is a plain round or hexagonal box that you wrap or decorate. Many craft stores carry inexpensive papier-mâché or cardboard rounds. Place the gift inside with tissue padding, then wrap the box itself with standard techniques or cover it in pretty paper and seal with a wide ribbon. This is especially useful for sets of small round items or anything breakable.
For office exchanges or smaller budgets, a nice bag plus a couple of thoughtful extras often lands better than struggling with paper. If you need ideas at that price point, browse our holiday and Christmas gifts for coworkers under $25 or the broader list of budget gifts under $25 that still feel complete once bagged and tagged.
Finishing Touches That Hide Imperfections
Ribbon is your best friend on round packages. A double wrap around the widest part of the gift, crossed and brought to a bow on top, draws the eye upward and away from any side wrinkles. Twine or thin velvet ribbon gives a different texture. For a more modern look, use a wide paper band or washi strip around the middle with the ends overlapped and sealed, then stick a sprig of greenery, a dried orange slice, or a simple gift tag under the band.
If the top gather is bulky, cover it completely with a large bow, a fabric flower, or even a small ornament that doubles as an extra present. On kids’ gifts, a few stickers strategically placed over tape spots work wonders. Keep tags short and attached with string rather than taped flat so they move with the curved surface instead of fighting it.
Color coordination helps too. If your paper has a busy pattern, solid ribbon calms it down. If the paper is solid or subtle, a patterned or textured ribbon adds interest. Matching the wrap loosely to the occasion (kraft and twine for rustic, metallics for holidays, soft pastels for baby gifts) makes even a simple gather look purposeful.
Specific Round Gifts We Wrap Often
Sports balls: Deflate slightly if possible for a tighter wrap, use the gather method, and finish with team-colored ribbon. Or skip paper and use a clear cellophane bag tied at the top with a big bow so the ball itself shows.
Ornaments and fragile spheres: Tissue layer first, then outer paper or a small gift box. Never pull paper tight against glass.
Candles and jars: Belly band of paper or fabric plus ribbon often looks cleaner than full coverage, especially if the vessel is already pretty. Full wrap works if you want total surprise.
Bath bombs and small soaps: These are perfect for the candy-wrapper twist at both ends or a simple tissue pouch inside a larger bag. They also make excellent additions to larger presents or stocking lineups. For more small-scale ideas that wrap or bag easily, check our stocking stuffers and small holiday gifts under $25.
Round food gifts (cheese, fruit, stacked cookies): Cellophane or butcher paper with the gather-and-tie finish keeps things food-safe and charming. Add a tag with serving notes.
Common Mistakes and Easy Fixes
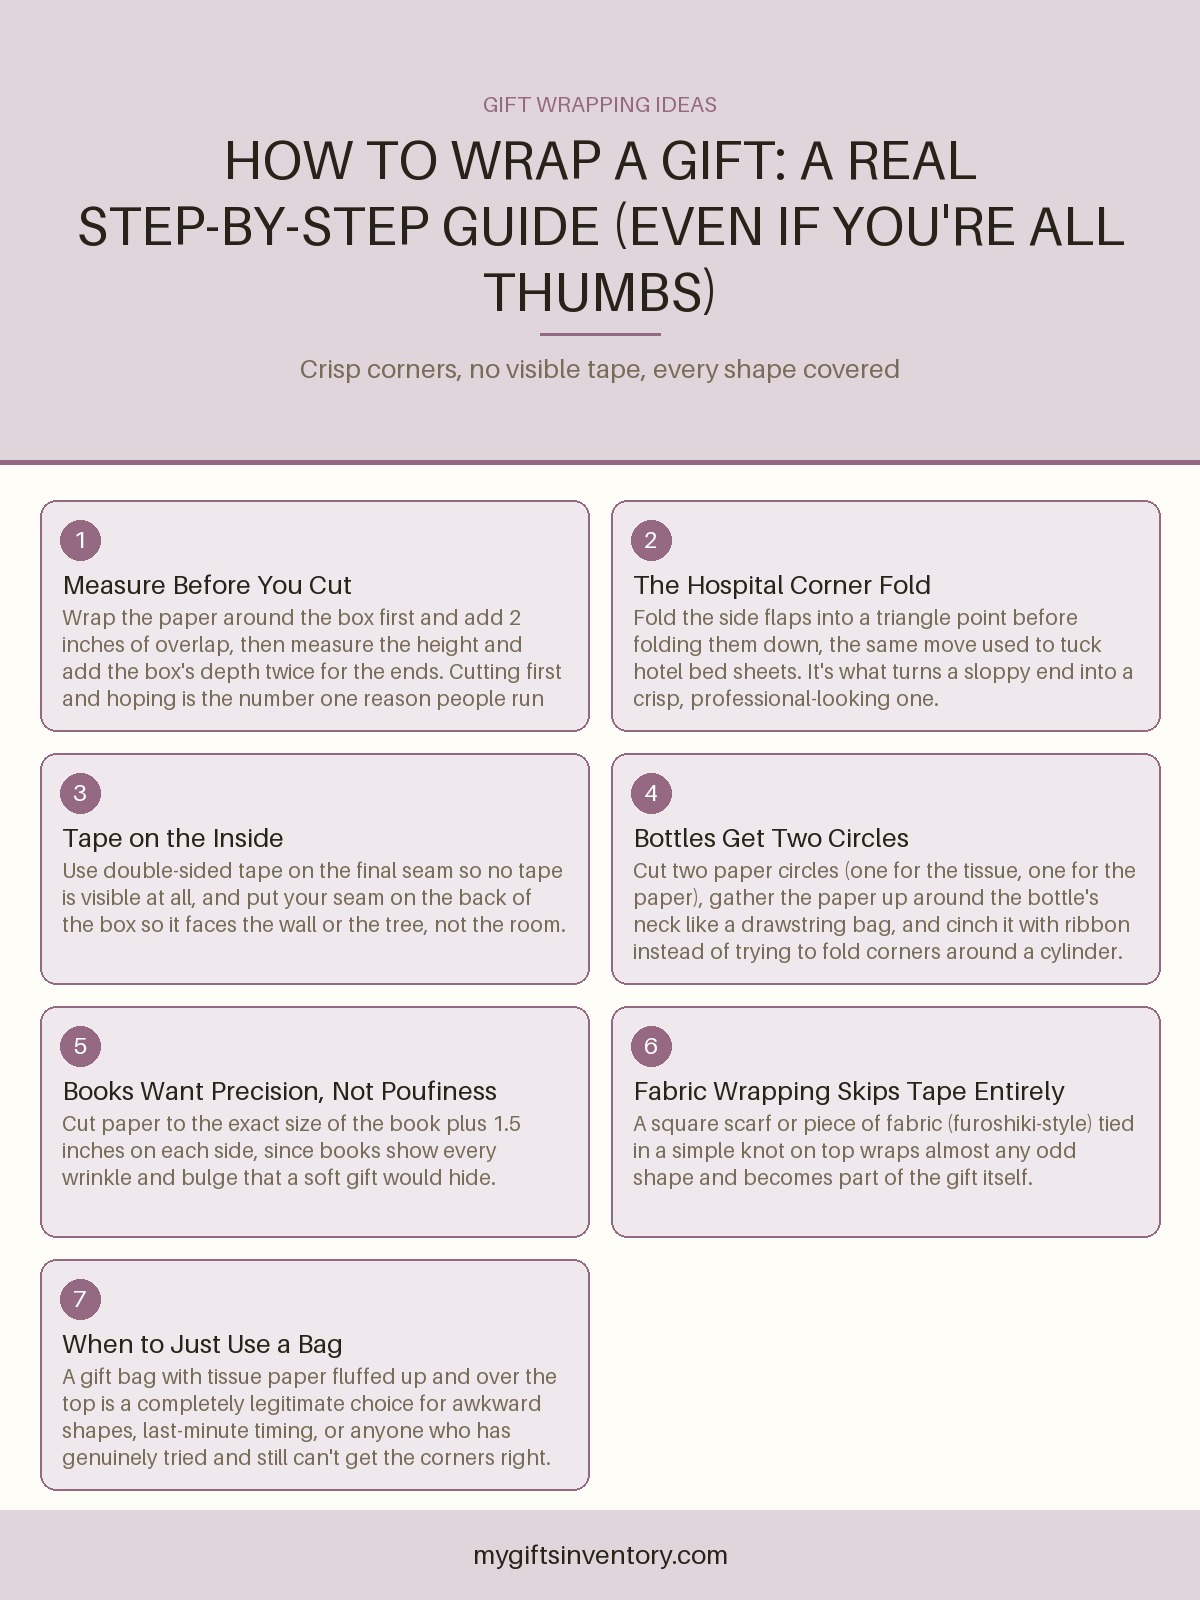
Using too little paper is the number one problem. When in doubt, cut larger. You can always trim excess after the main folds are secure. Pulling too hard creates tears and shiny stress marks on the paper; gentle tension and more pleats beat force. Skipping the tissue layer on dark or textured gifts often leaves the outer wrap looking uneven. Visible tape everywhere makes the package feel rushed; switch to double-sided tape on seams and cover necessary clear tape with ribbon or washi.
If a wrap starts going wrong, stop and either restart with fresh paper or move the gift into a bag. Ten extra minutes of frustration rarely improves the result. We have also learned to wrap round items earlier in the gift-wrapping session while patience is high, and save the easy boxes for last.
Putting It All Together for Holidays and Beyond
Round gifts show up constantly in holiday piles, birthday stacks, and hostess thank-yous. Once you have one solid method (we default to tissue plus gather for most spheres), the rest becomes repetition. Keep a small kit of tissue, extra ribbon, and a few quality bags so you are never stuck. If you are building a full list and need wrap-friendly options across budgets, our guide to holiday gifts and Christmas present ideas under $50 is full of items that play nicely with these techniques.
The goal is never perfection under studio lighting. It is a package that feels cared for when it is handed over. A slightly imperfect but cheerful wrap with a good bow beats a pristine but stressful one every time. Practice on a cheap ball or orange from the kitchen if you want muscle memory before the important gifts. After two or three tries the motions become automatic.
Frequently Asked Questions
What is the easiest way to wrap a perfectly round gift?
The gather-and-twist method is usually easiest. Center the gift on a generous square of paper, bring all sides up to the top, twist or pleat the excess, and hide the gather with a bow or ribbon. Adding a tissue layer underneath makes the outer paper behave better and look smoother.
Can I wrap a ball without it looking lumpy?
Yes. Use enough paper so you are not stretching it, smooth as you fold, and create intentional pleats rather than random wrinkles. A tissue under-layer plus ribbon that draws the eye to the top disguises remaining imperfections. For sports balls, a clear cellophane bag with a big bow is often cleaner than opaque paper.
Is it okay to put a round gift in a gift bag instead?
Absolutely. A well-stuffed gift bag with tissue is a smart, attractive choice for heavy, fragile, or very large round items. Nest the gift so it stays put, fluff the tissue at the top, and add a tag. Most people care more about the gift and the thought than whether paper or a bag was used.
How much wrapping paper do I need for a round gift?
Plan on a piece roughly 2.5 to 3 times the diameter of the gift in width and length, cut into a square when possible. Extra paper is better than too little; you can trim after securing the main folds. When layering tissue first, size the outer paper to the tissue-wrapped shape rather than the bare gift.
What ribbon works best on round packages?
Medium to wide ribbon that can wrap the equator and rise to a top bow works especially well because it stabilizes the paper and hides gathers. Twine, velvet, and wired ribbon all hold shape nicely. Avoid extremely thin curly ribbon alone if the gather needs real structure; use it as an accent over a sturdier base ribbon instead.
Looking for an Actual Gift Instead?
More Gift Advice